 RAV4 Transmission Fluid Guide
2012 RAV4 transmission fluid change: the complete step-by-step drain-and-fill guide
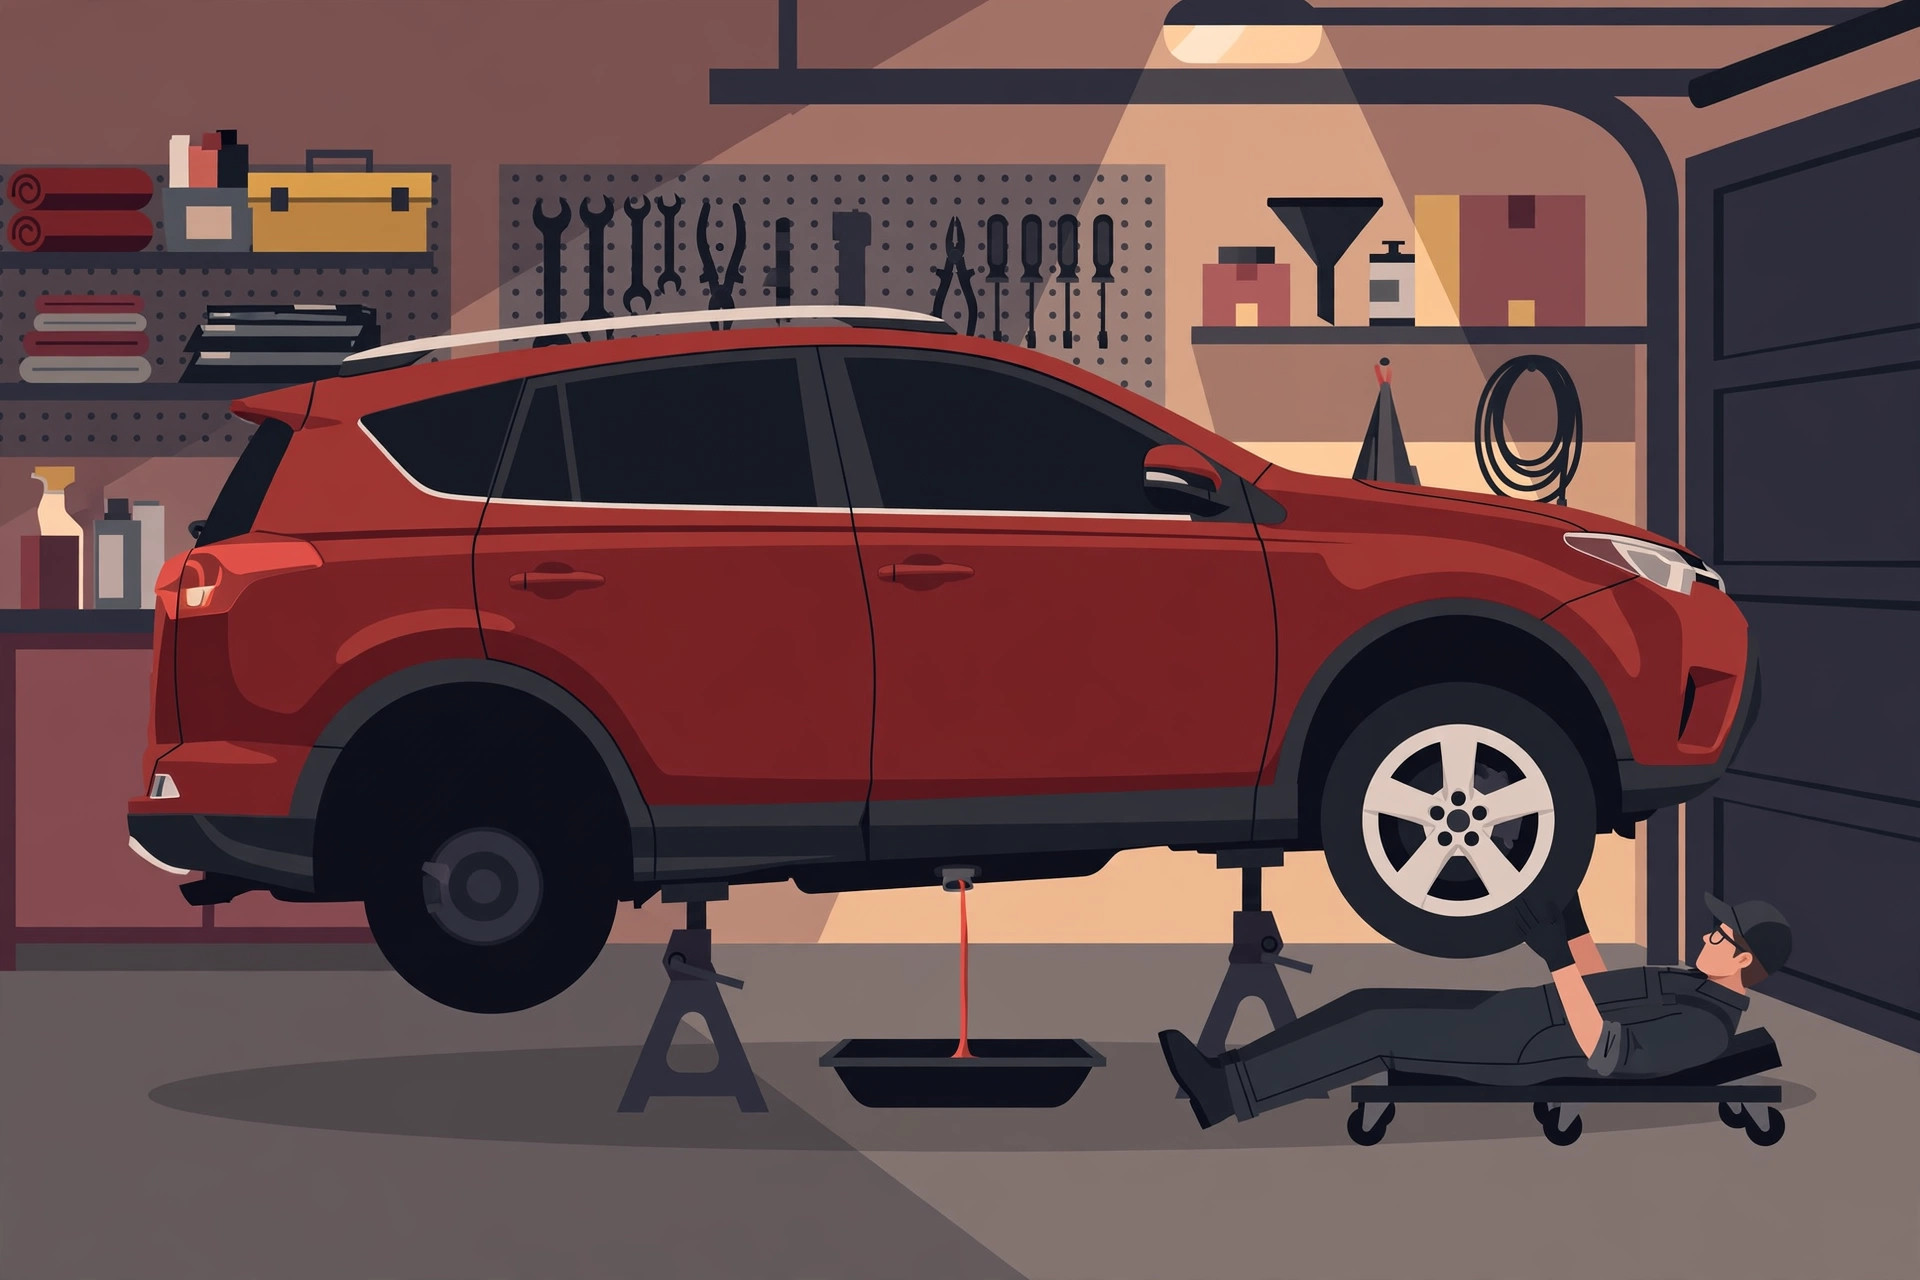
A drain-and-fill is the right first transmission service for most 2012 RAV4s. It is simple in concept — drain what comes out of the pan, measure it, put the same amount of fresh fluid back — and the third-generation RAV4 makes it unusually DIY-friendly: it has a real dipstick you can check and fill through, a proper drain plug in the pan, and no sealed "lifetime" fill procedure to fight with. The 2.5-litre four-cylinder (paired with a four-speed automatic) and the 3.5-litre V6 (paired with a five-speed automatic) follow the same basic procedure. What makes the job go well is not speed; it is measurement, cleanliness, the correct fluid, and a level check done at the correct temperature.
⚠ Safety — read before you lift anything. Transmission fluid at operating temperature is hot enough to burn skin; treat every step under the vehicle as work around a hot liquid. Raise the vehicle on a level surface and support it on jack stands rated for the load — never work under a vehicle supported by a jack alone, and never by the jack that came with the car. Wear eye protection and gloves. Keep a sealed jug ready for the used fluid and take it to a recycling depot afterwards; used ATF is hazardous waste and must never go down a drain. If any step doesn't feel safe or a fastener won't move with reasonable force, stop and have a shop finish the job.
What a drain-and-fill does — and doesn't — replace
Only part of the transmission's fluid lives in the pan. The rest sits in the torque converter, the valve body, the cooler and its lines. The owner's manual lists the total fluid capacity as 8.6 US quarts (8.1 litres) for the four-speed and 9.3 US quarts (8.8 litres) for the five-speed — but a pan drain only releases roughly 3.5 quarts on the four-cylinder and about 3.5 to 4 quarts on the V6. That is normal, and it is the main limitation of the method: one drain-and-fill refreshes roughly 40 percent of the fluid. Owners who want a higher proportion of fresh fluid repeat the drain-and-fill after some driving — a second (and even third) cycle, each separated by real use, progressively dilutes the old fluid without the risks of a pressure flush. One careful drain-and-fill is still worthwhile on its own: it replaces the hardest-worked portion of the fluid, renews some of the additive package, and — just as important — gives you a sample of the old fluid and a look at the drain plug, which together tell you a lot about the transmission's health.
Tools and supplies
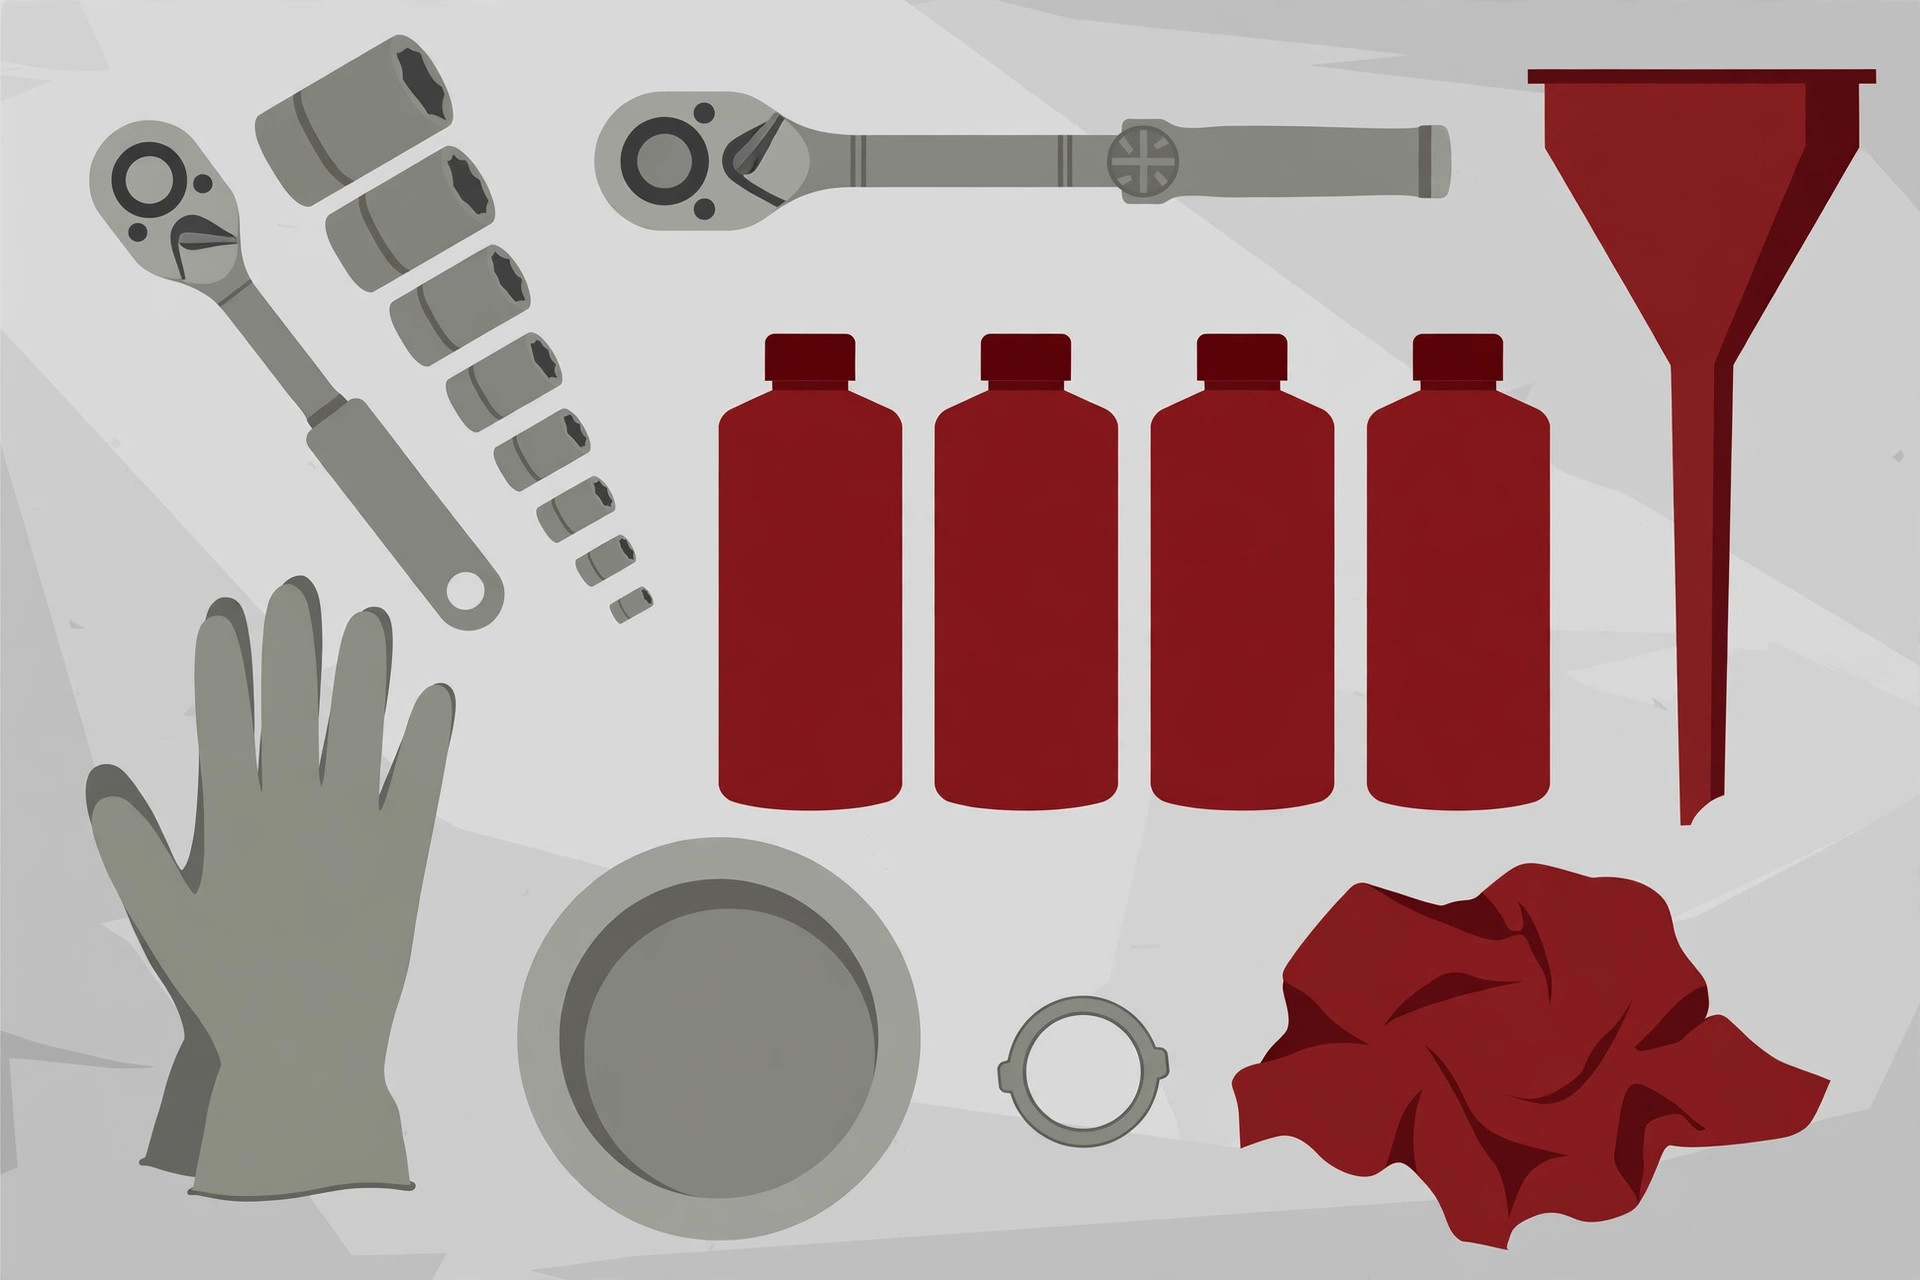
- Toyota Genuine ATF WS — 4 quarts is enough for one drain-and-fill on either engine; buy a fifth if you plan a second cycle soon. Nothing else. Toyota's service bulletin is explicit that ATF WS is not compatible with the older Type T-IV or Dexron fluids, and warns that substitute or "compatible" aftermarket fluids can cause shift problems and internal damage.
- New drain-plug gasket (crush washer) — one per drain. The factory procedure installs a new gasket every time the plug comes out; a reused washer is the most common cause of a slow seep after this job.
- Jack and a pair of jack stands (or drive-on ramps), plus wheel chocks.
- Socket set and ratchet for the drain plug and any under-cover fasteners, and a torque wrench that reads accurately in the 47 N·m (35 ft·lbf) range.
- A drain pan that holds at least 5 quarts, and a graduated container or marked jug to measure what came out. An old quart bottle works: pour the used fluid into it one quart at a time and count.
- A long, narrow funnel that fits the dipstick tube — refilling happens through that tube, slowly.
- Lint-free rags or paper towels for the dipstick (cloth lint in the tube is contamination), nitrile gloves, eye protection, and a flashlight.
- A sealable jug for the used fluid, labelled, for the trip to the recycling depot.
Step 1: Warm the fluid up
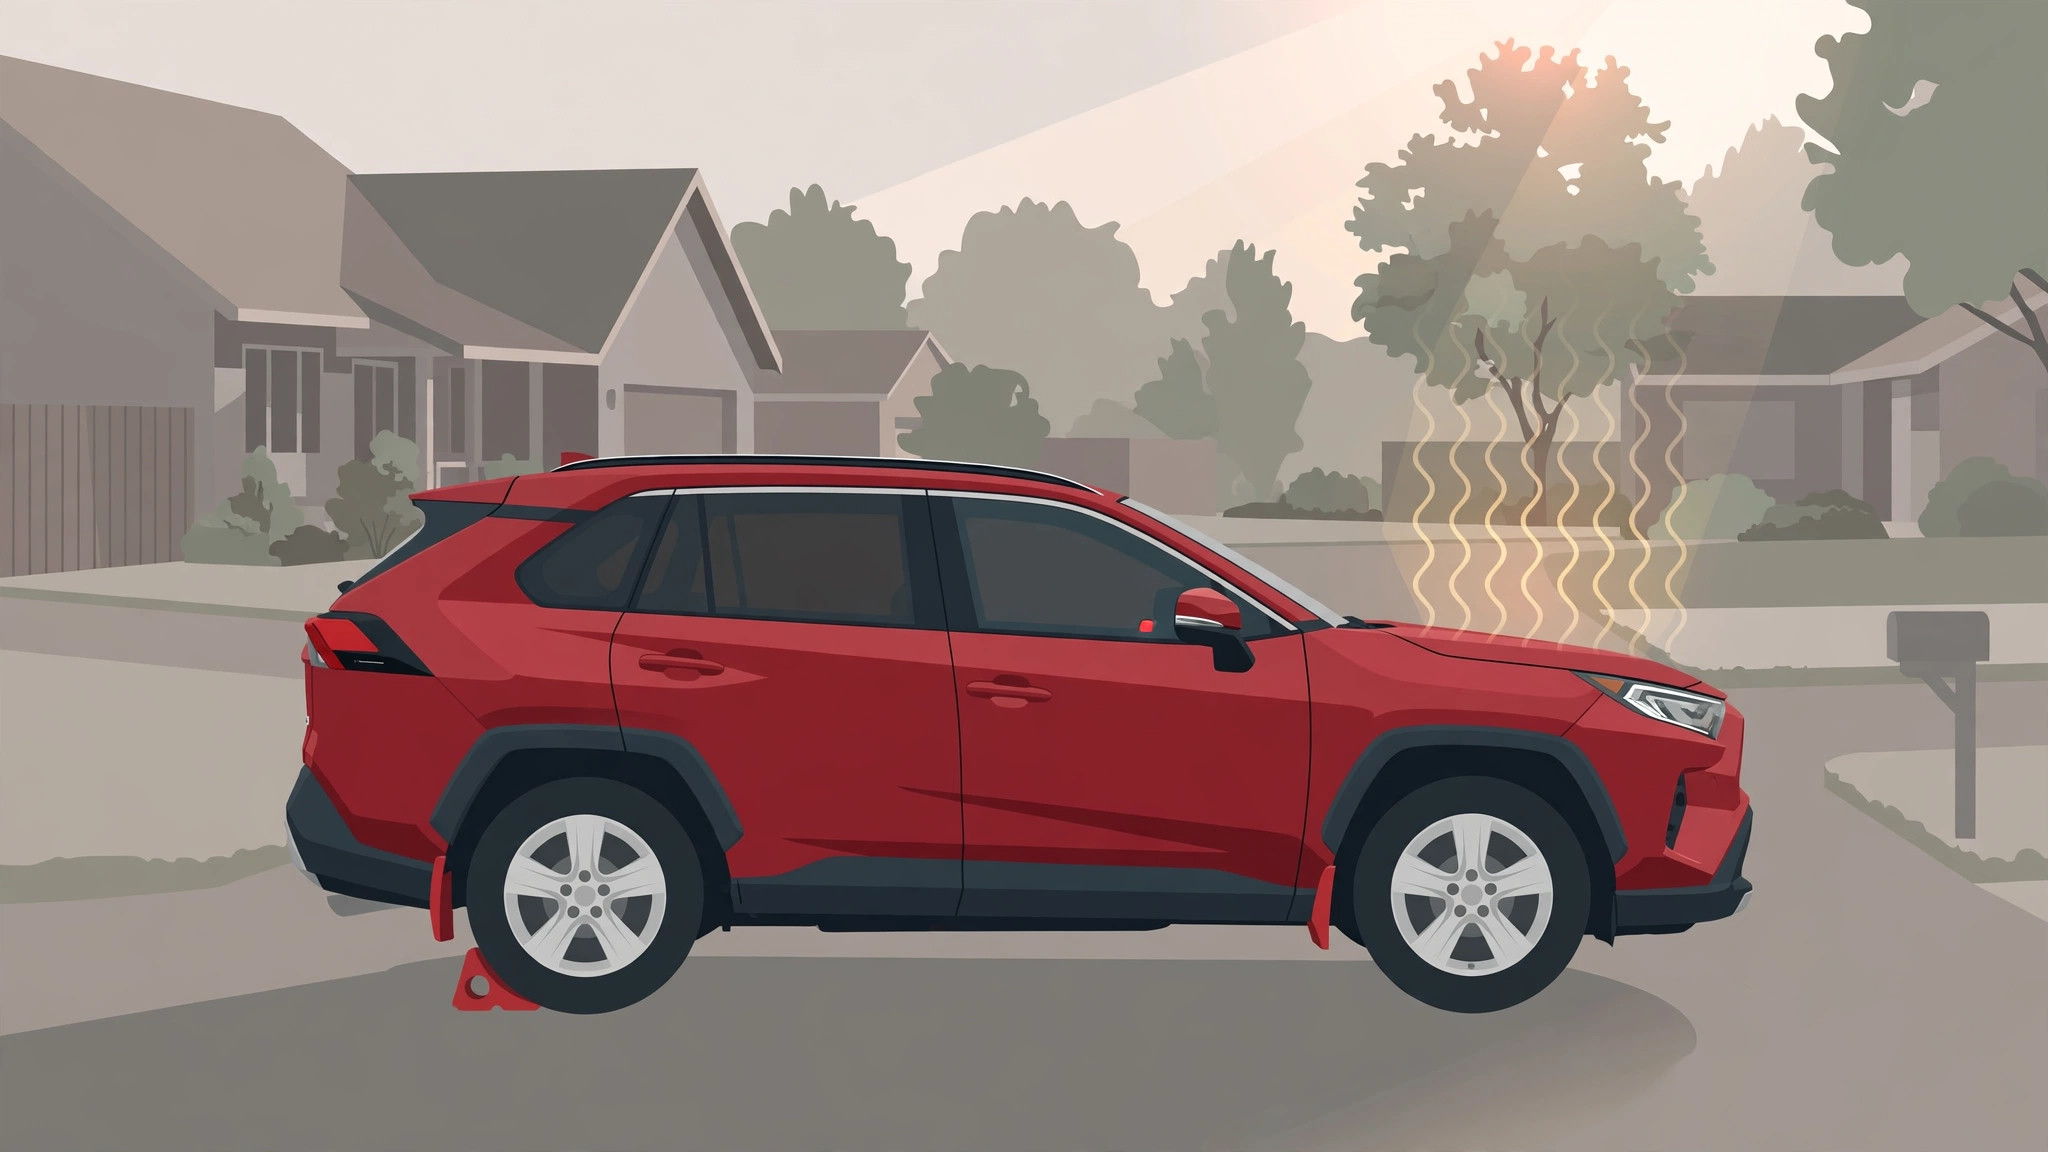
Drive the RAV4 for 15 to 20 minutes — a real drive, with some gentle acceleration and a few stops, not a lap of the block. Warm fluid drains faster and more completely, carries more of the suspended debris out with it, and mixes evenly so your drained sample represents the whole system. You are aiming for a fully warmed-up transmission, not a scalding one: the factory level-check procedure is specified at a fluid temperature of 70 to 80 °C (158 to 176 °F), and the fluid you are about to drain will be in that neighbourhood. Park on the level surface where you will work — "level" is not a nicety here, because both draining and the final level check assume it — set the parking brake, and chock the rear wheels.
Step 2: Raise and support the vehicle
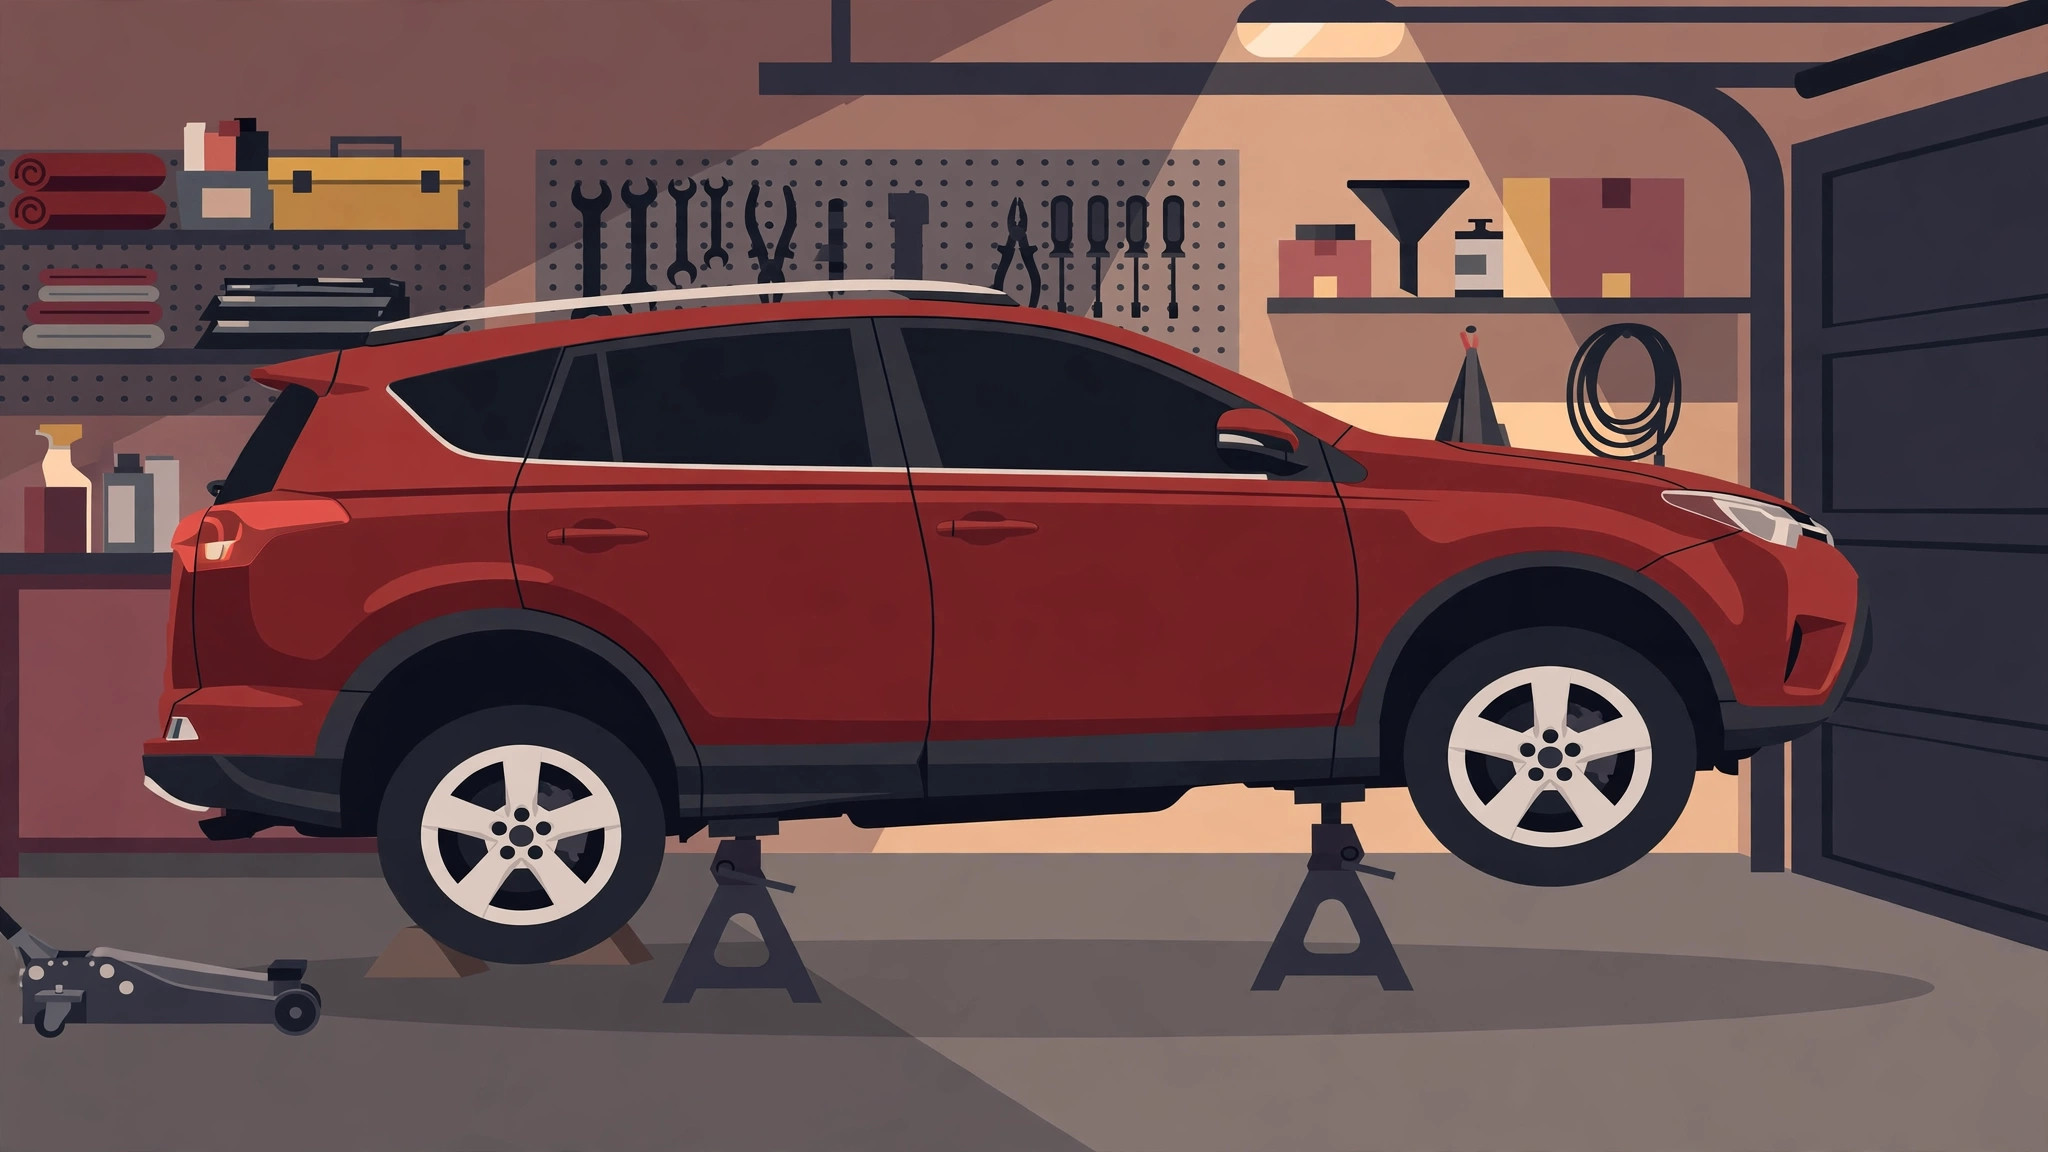
Jack up the front of the vehicle at the factory jacking points and lower it onto jack stands, or drive it onto sturdy ramps. Shake-test the vehicle gently before going underneath: it should feel planted. You need enough clearance to slide under the front and work a ratchet on the transmission pan, which sits behind the engine under the front of the vehicle. Keep the vehicle as level as you reasonably can while raised — stands at equal height on both sides.
Step 3: Find the drain plug and position the pan
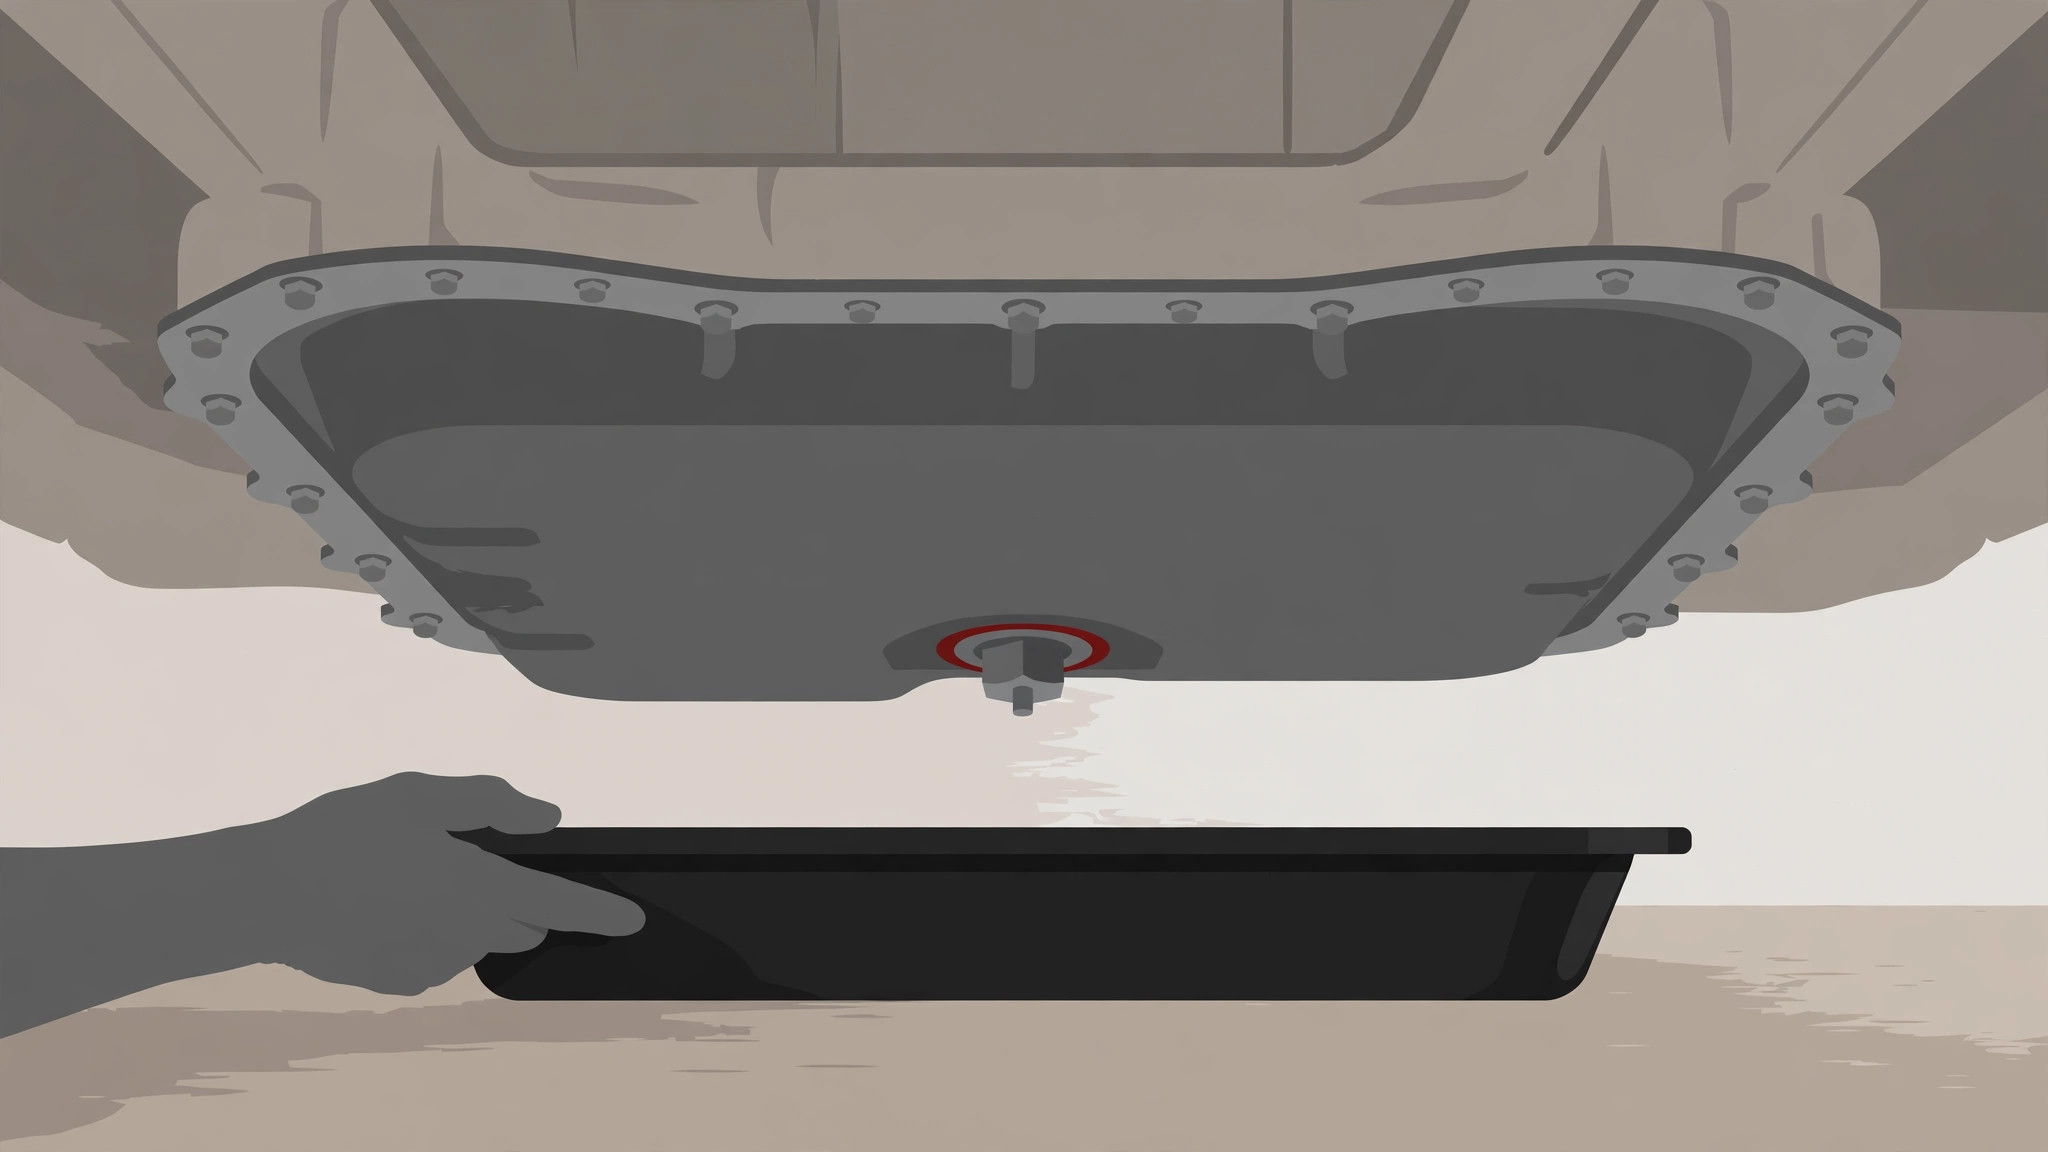
Slide under and locate the transmission oil pan — the stamped-steel pan on the bottom of the transaxle, roughly under the driver's side of the engine bay. Its drain plug is the single bolt in the bottom of the pan. (The engine oil pan is a separate, similar-looking pan nearby; before you loosen anything, trace the case above the pan — the transmission pan bolts to the transaxle housing, and on this vehicle the transmission dipstick tube leads down to the same unit from above. When in doubt, confirm from the top: the dipstick tube enters the transaxle, and the pan directly below that unit is your target.) Some vehicles have a plastic under-cover that must come off first for access. Centre the drain pan under the plug, allowing for the fact that fluid will arc slightly as it starts to flow.
Step 4: Drain — and catch a sample
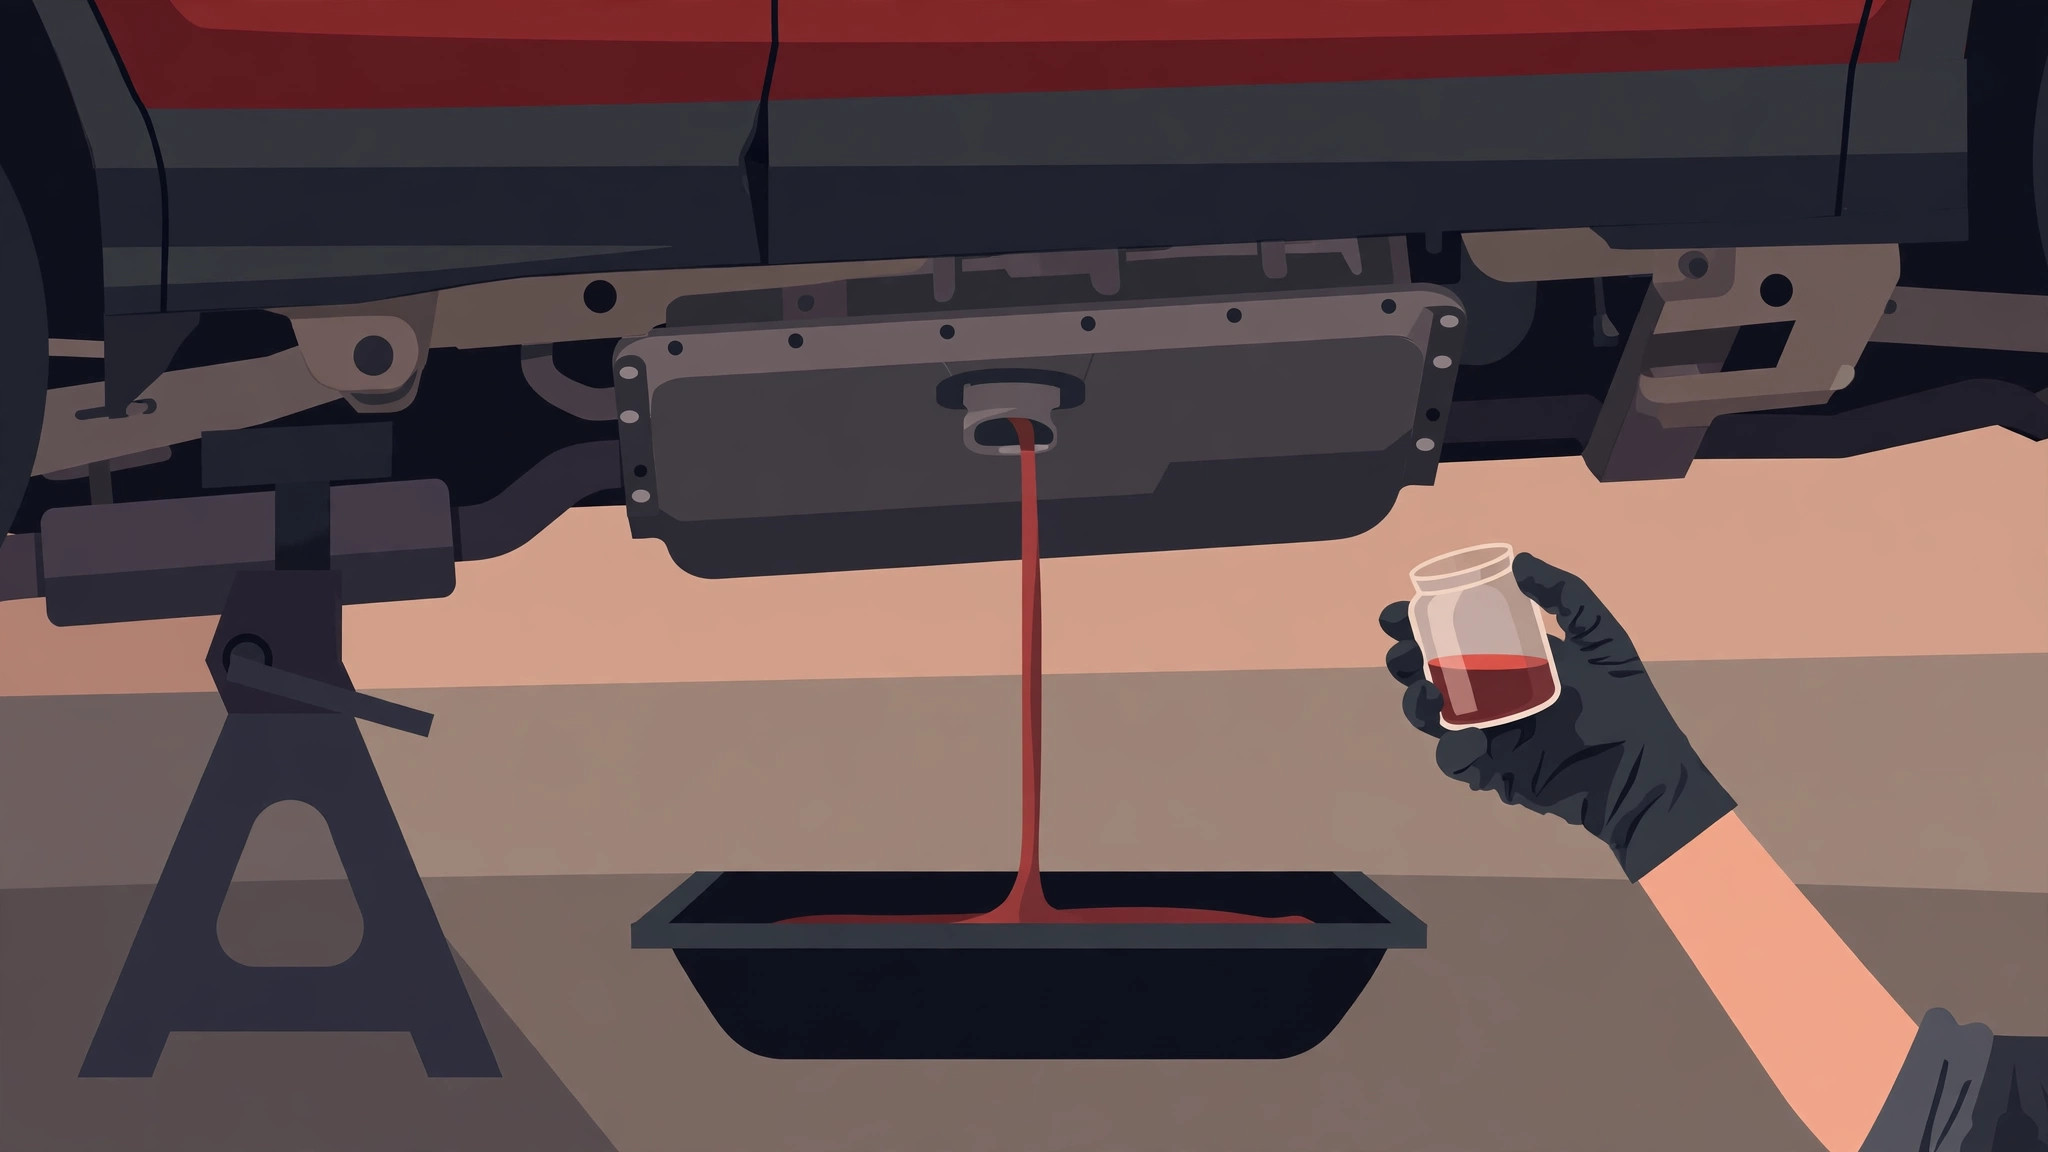
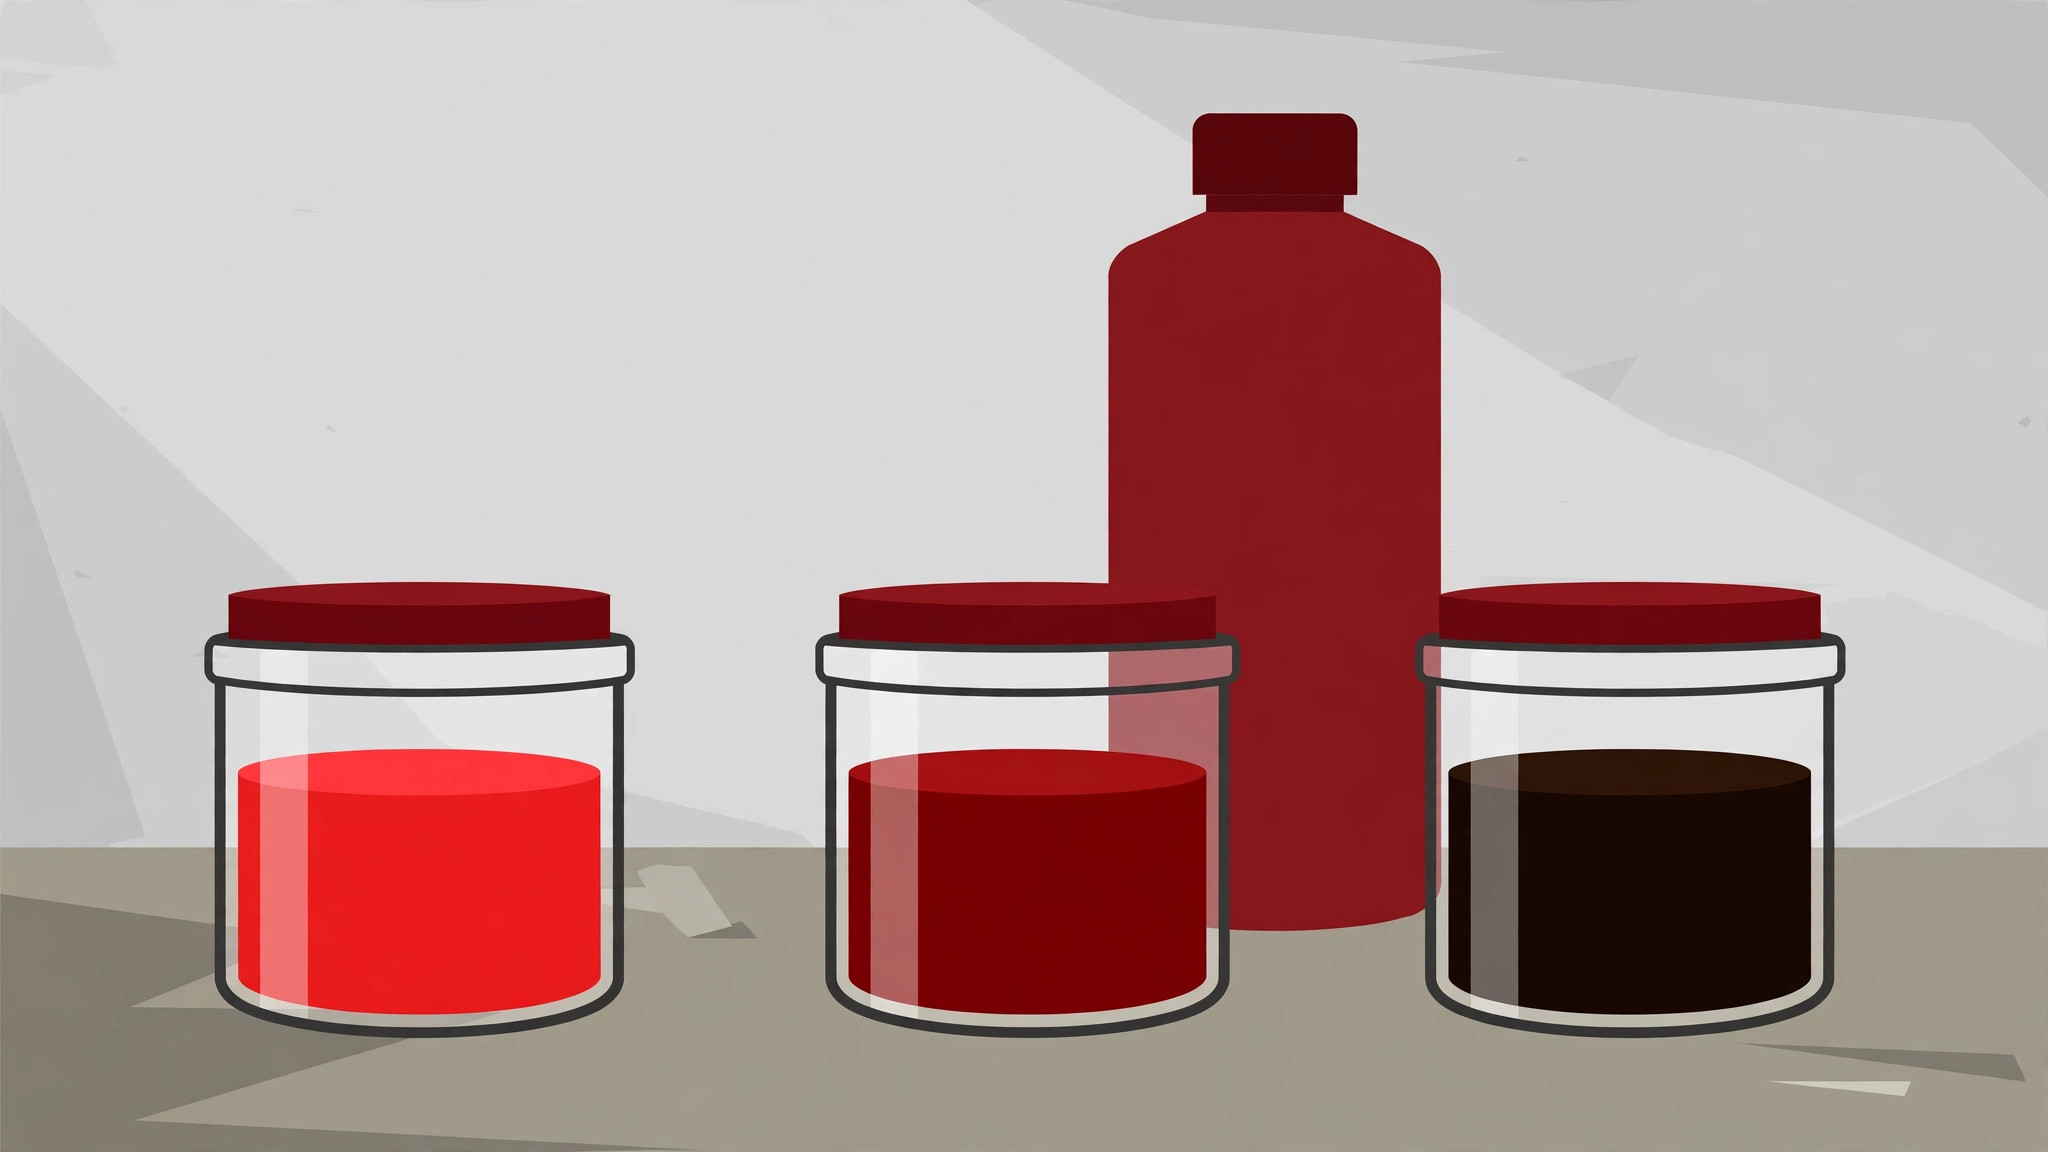
Crack the drain plug loose with the ratchet, then finish unthreading it by hand while pressing it lightly against the pan, so you control the moment it releases. Let the fluid drain fully — give it at least 15 minutes, until the stream breaks into slow drips. While it drains, look at what is coming out. Healthy used ATF WS is dark red and translucent. Brown fluid is tired but common at this age. Fluid that is near-black, smells burnt, or carries visible metallic glitter is information: it points you toward the symptoms guide and possibly a pan drop (see below) rather than a simple refill-and-forget. Keep the drain plug and its old gasket together — you will compare the new gasket against them.
Step 5: Measure what came out — the most important step in the job
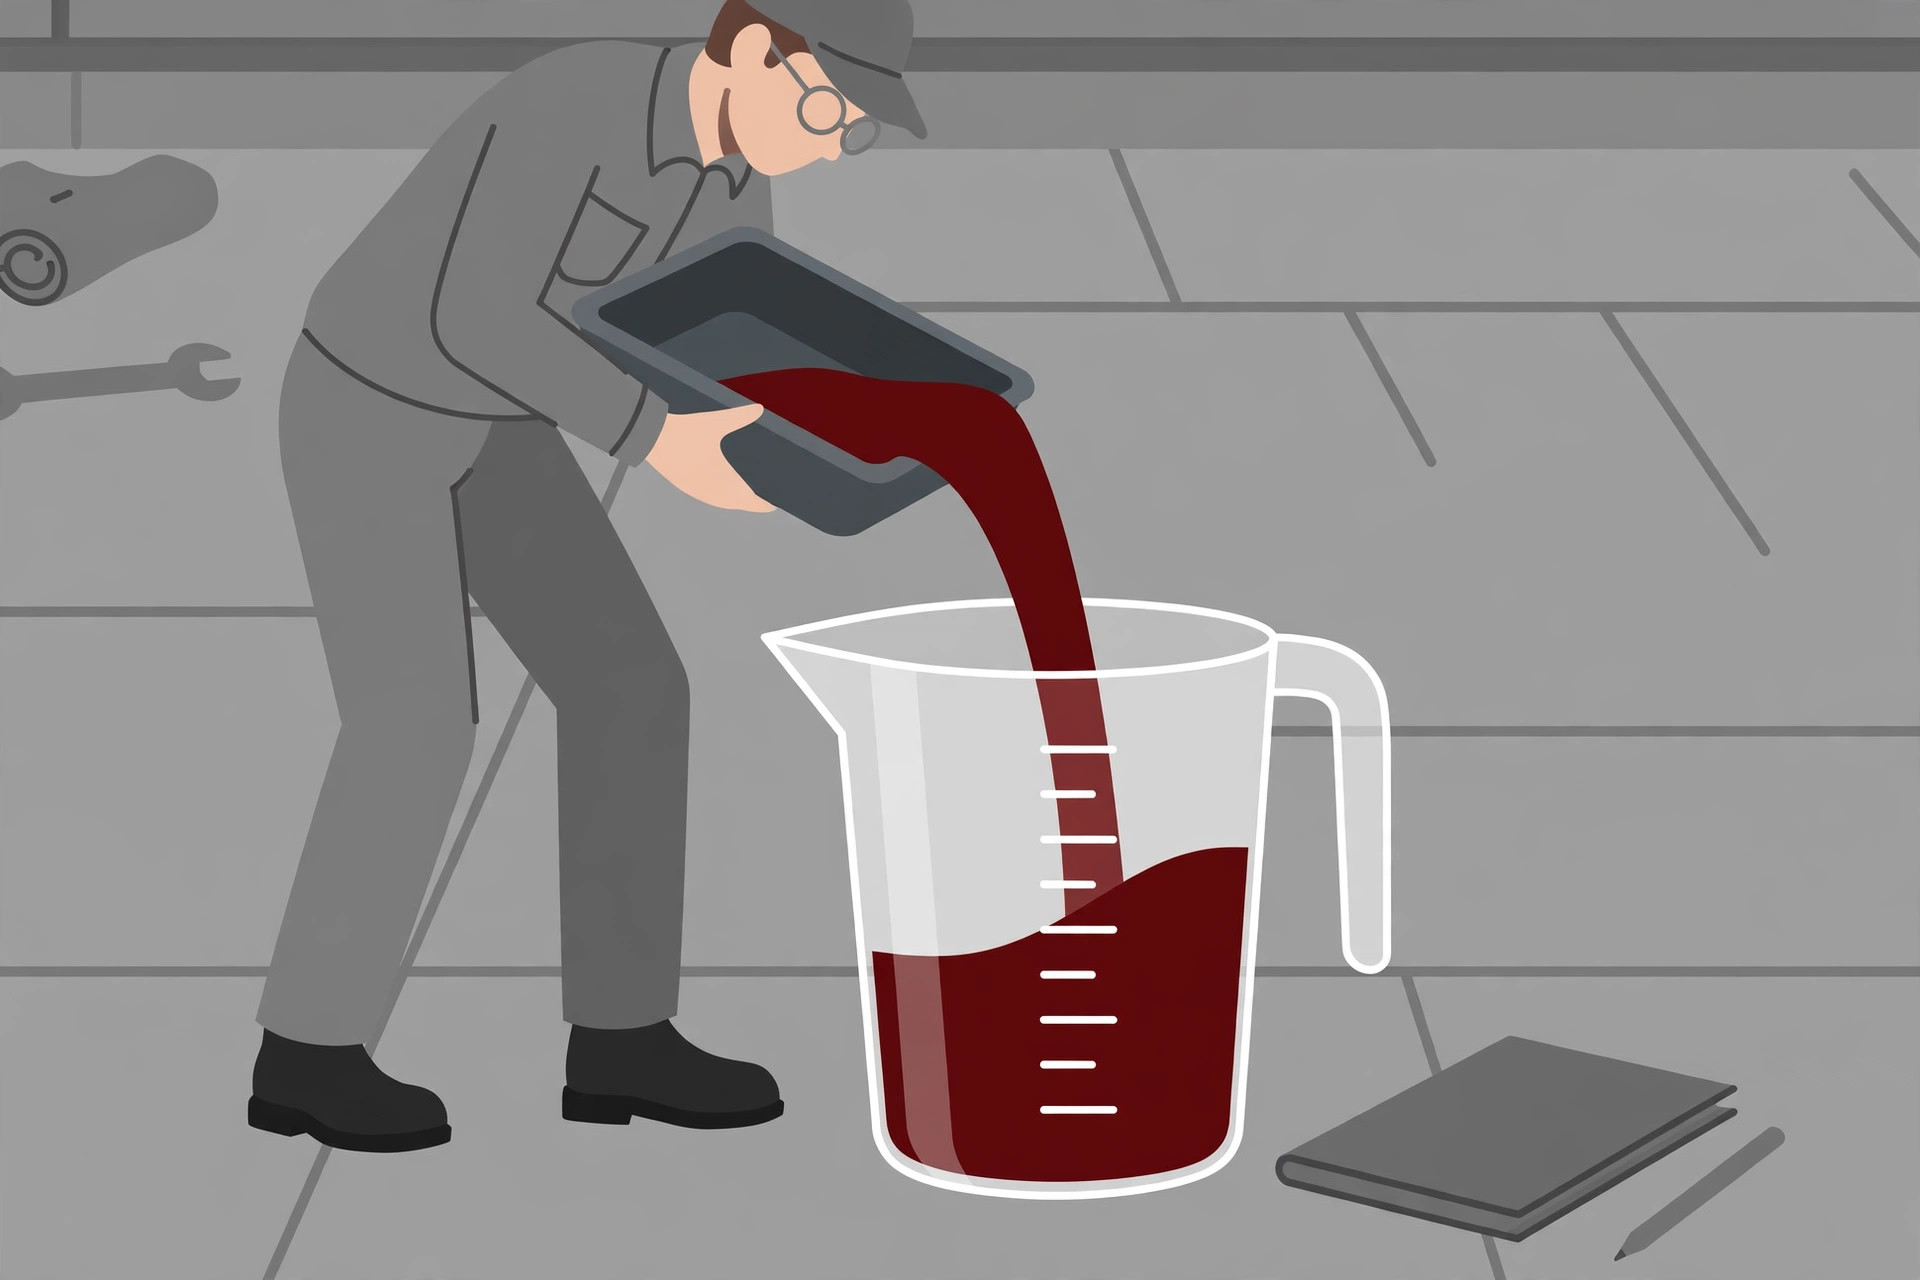
Pour the drained fluid into your graduated container and write the amount down. Expect roughly 3.5 quarts from the four-cylinder and 3.5 to 4 quarts from the V6; treat your measured number, not these expectations, as the truth for your vehicle. This measurement is the drain-and-fill's built-in safety net: if the transmission was at the correct level before you started (you can confirm that on the dipstick before draining, at operating temperature), then refilling with exactly the measured amount returns it to the correct level, subject only to the final dipstick check. If far less than expected comes out — say, under 3 quarts — the transmission may have been running low, which is itself a finding: look for leaks at the pan gasket, axle seals, and cooler lines before you refill.
Step 6: Refit the drain plug with a new gasket, to torque
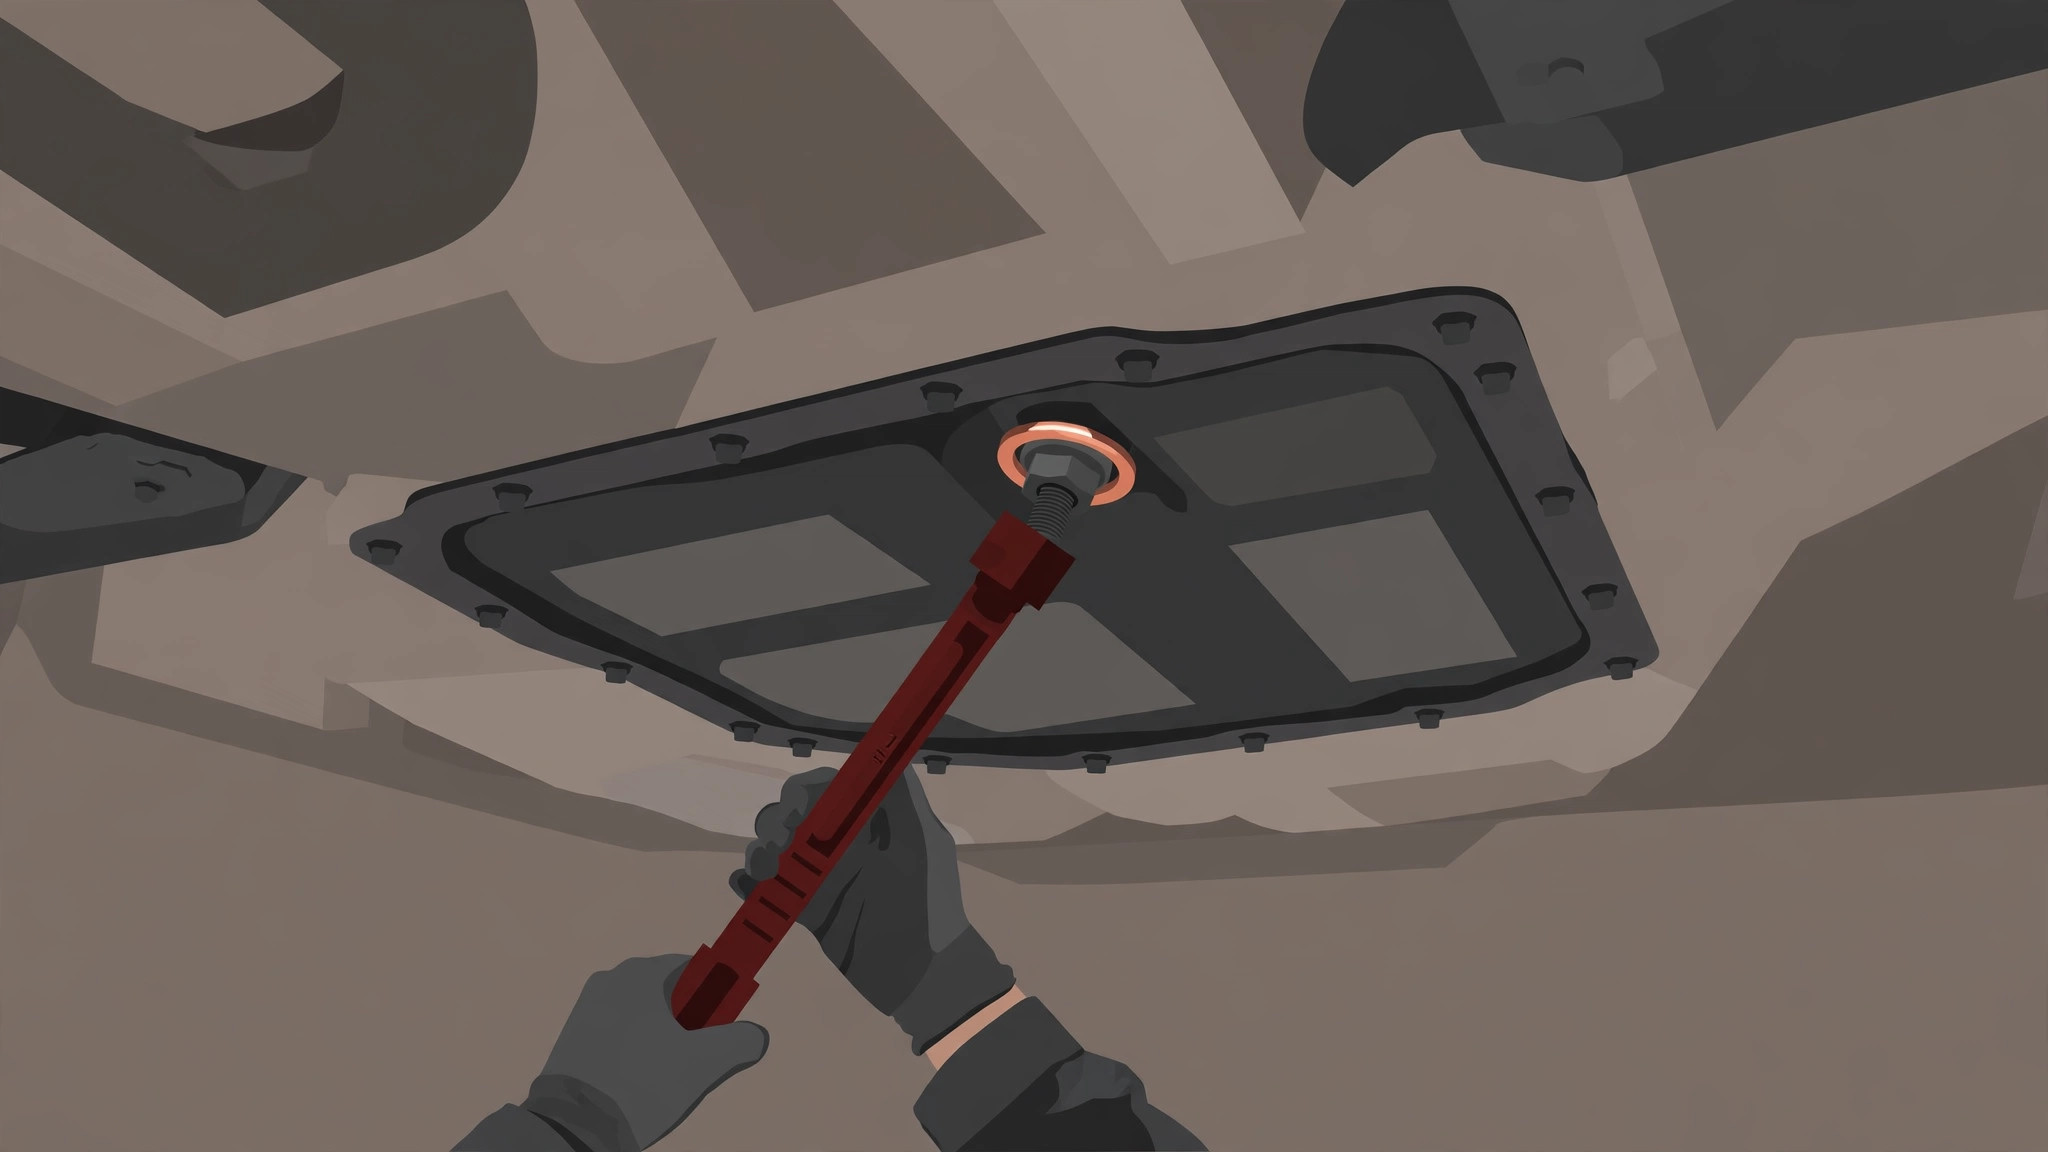
Clean the plug and the pan surface around it. Fit the new gasket, thread the plug in by hand until it seats, then torque it to the factory specification: 47 N·m (479 kgf·cm, 35 ft·lbf). That number surprises people — it is snugger than an engine oil drain plug on many cars — which is exactly why a torque wrench matters here: under-torqued plugs seep or back out, and over-torqued plugs can damage the pan's threads. Wipe the pan clean so any later wetness is easy to spot.
Step 7: Refill through the dipstick tube — measured amount, poured slowly
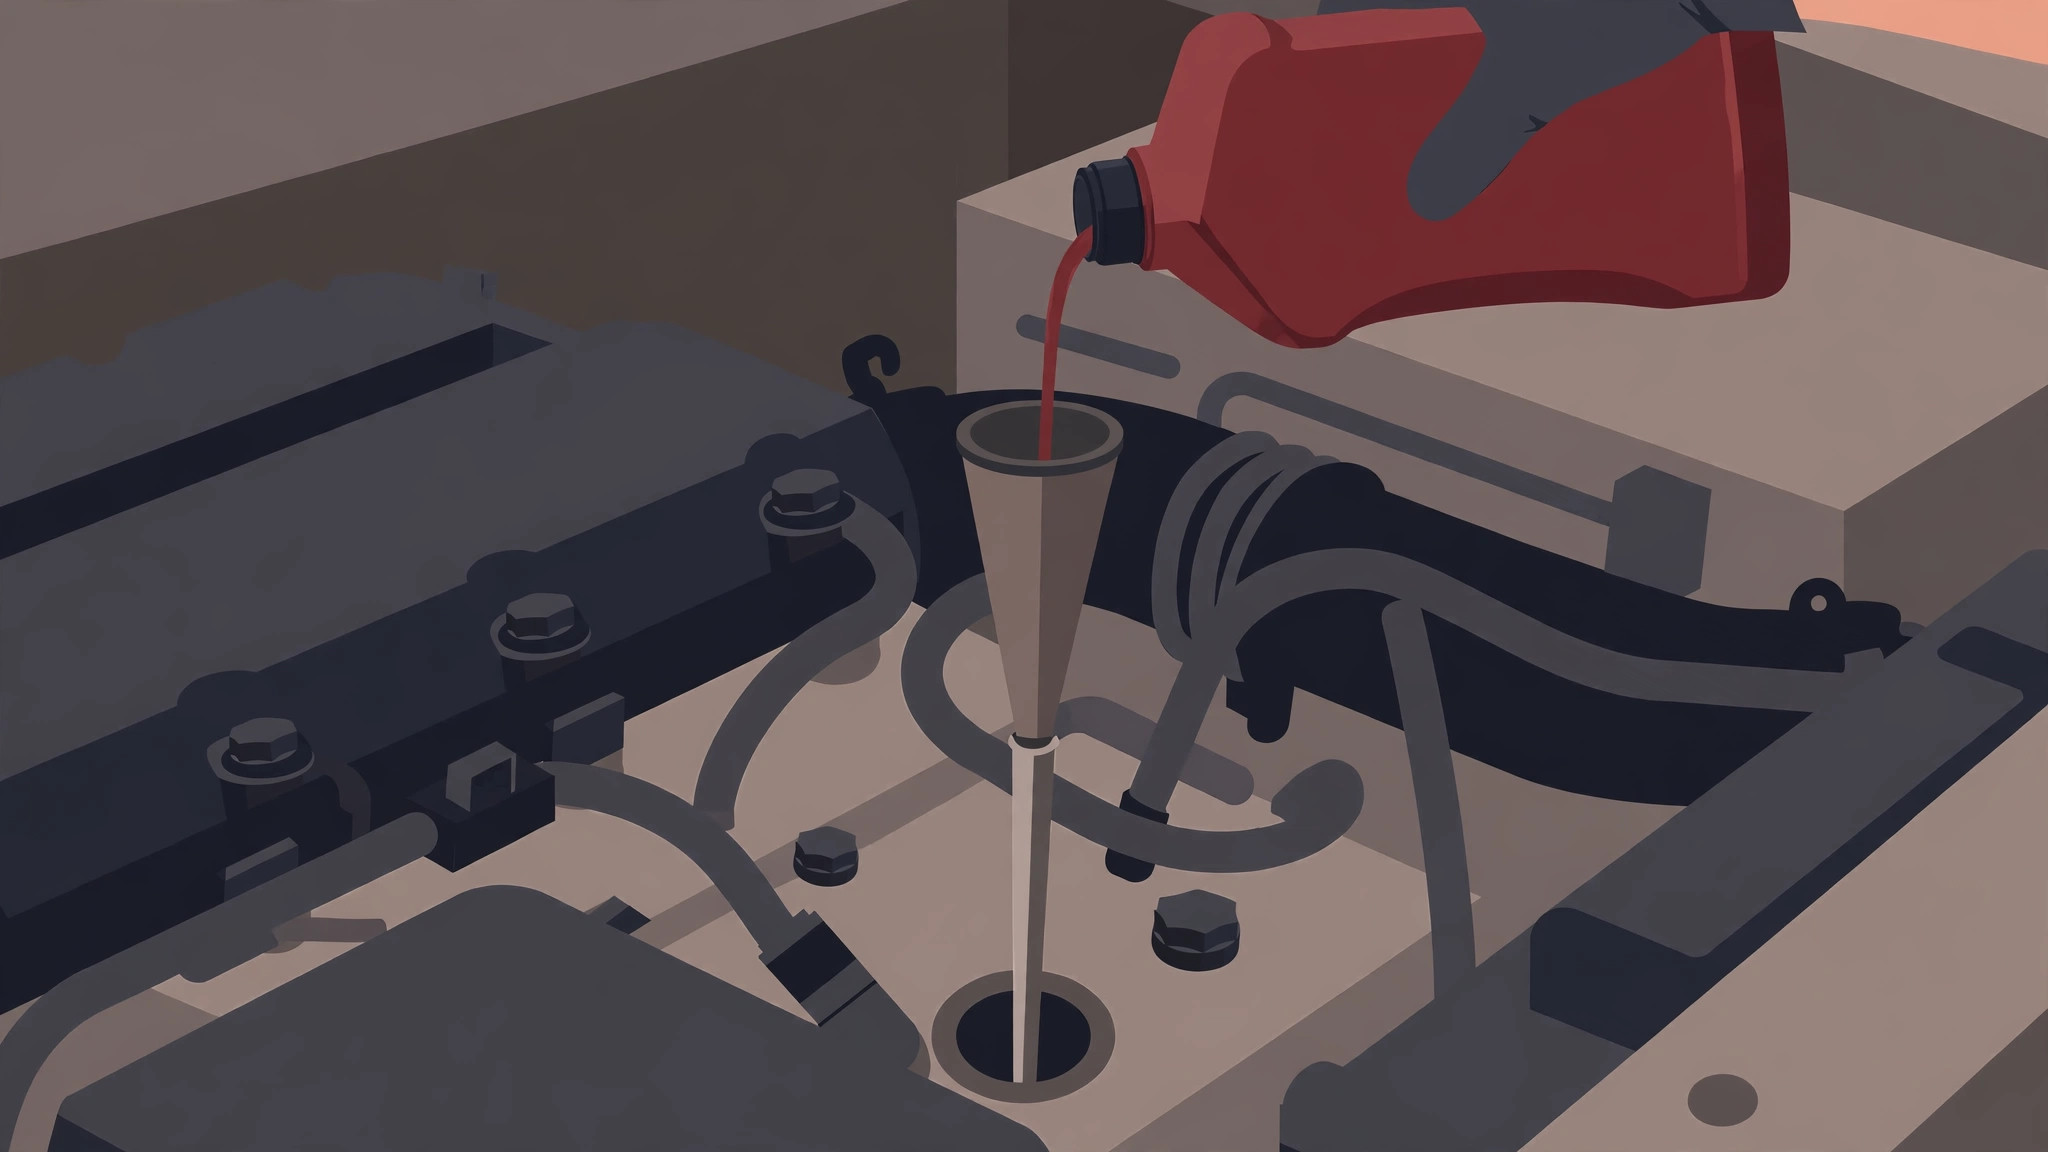
Lower nothing yet. From above, pull the transmission dipstick, set it on a clean lint-free towel, and seat your long funnel in the tube. Pour in fresh ATF WS — the same amount you measured out, minus a small reserve of about a quarter of a quart, which you will use to fine-tune at the level check. Pour slowly: the tube is narrow, the fluid is thin, and a rushed pour overflows down the side of the transaxle and onto your clean pan, where it will later masquerade as a leak. Keep the bottles sealed until the moment you pour — Toyota notes that ATF WS absorbs moisture from the air, and an open bottle left on the shelf is not a good top-up supply later.
Step 8: Circulate the fluid

Remove the funnel, refit the dipstick, and — with the vehicle still supported and the parking brake firmly set — start the engine and let it idle. With your foot hard on the brake pedal, move the shift lever slowly through each position, pausing a few seconds in each, and return it to Park. This is the factory's circulation step: it fills the valve body's passages and the converter circuits that drained down, and it is what makes the level check meaningful. Let the engine idle until the transmission is back at full operating temperature.
Step 9: The level check — engine idling, fluid hot, vehicle level
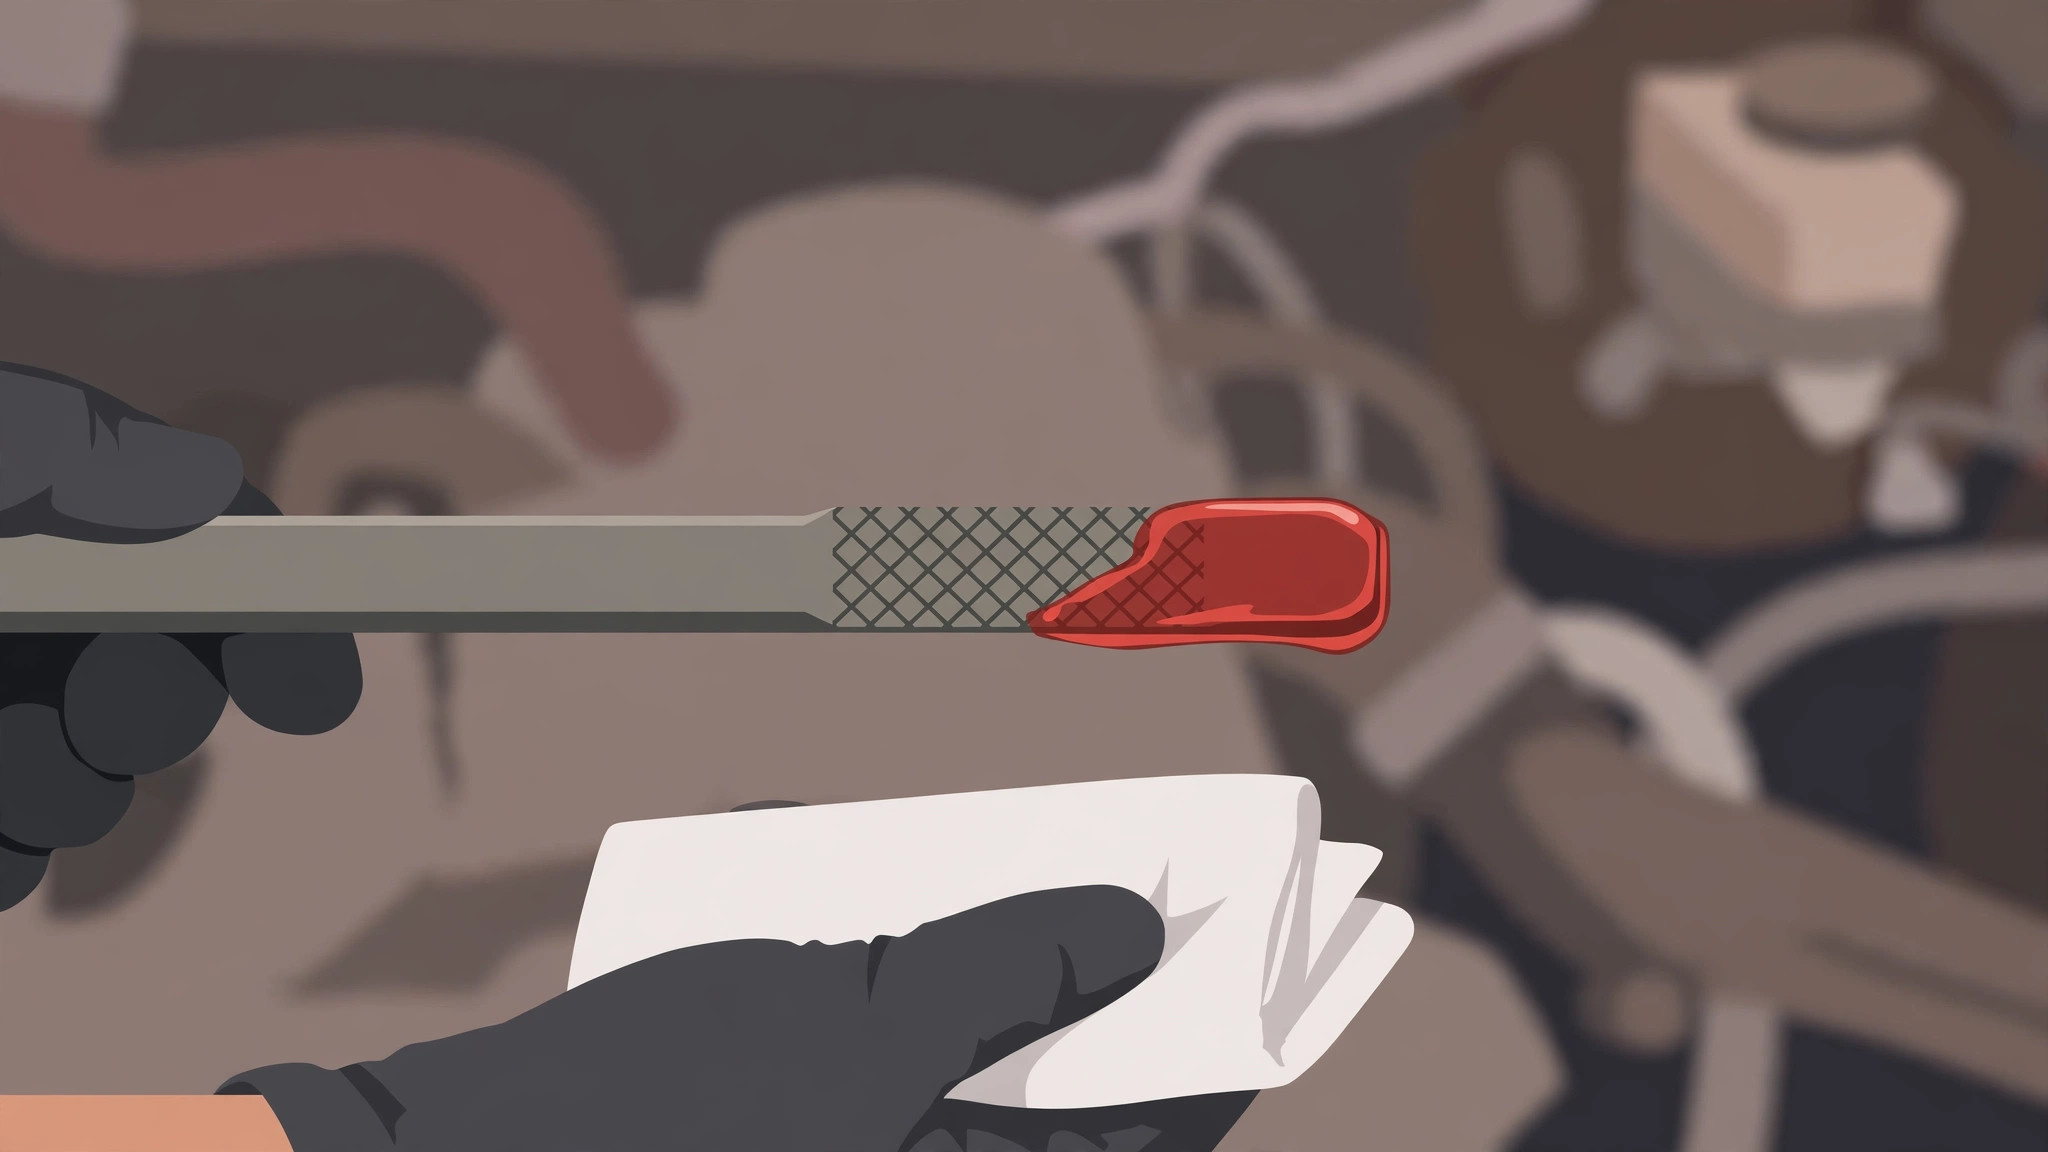
This is the step that separates a good drain-and-fill from a guess. The factory procedure for this transmission family is precise: with the fluid at 70 to 80 °C (158 to 176 °F) — full operating temperature, reached by a proper warm-up drive or extended idling, not a cold engine — park on a level surface, engine idling, and move the lever through the gears and back to Park. Then pull the dipstick, wipe it with a lint-free cloth, reinsert it fully, and pull it again. The fluid should sit within the HOT range marked on the dipstick. A few honest notes:
- Checking cold gives a falsely low reading, because ATF expands as it heats. A level that looks perfect on a cold dipstick is an overfill at operating temperature — and overfilling causes foaming, erratic shifting, and fluid pushed out of vents and seals.
- Small adjustments only. Add fluid a few ounces at a time through the funnel, re-circulate, and re-check. If you overshoot, the clean way back is a hand suction pump down the dipstick tube, not another drain.
- Read both sides of the dipstick and trust the lower, consistent reading; fluid splashed in the tube can paint a false line on one side.
Step 10: Lower, road test, re-check for leaks
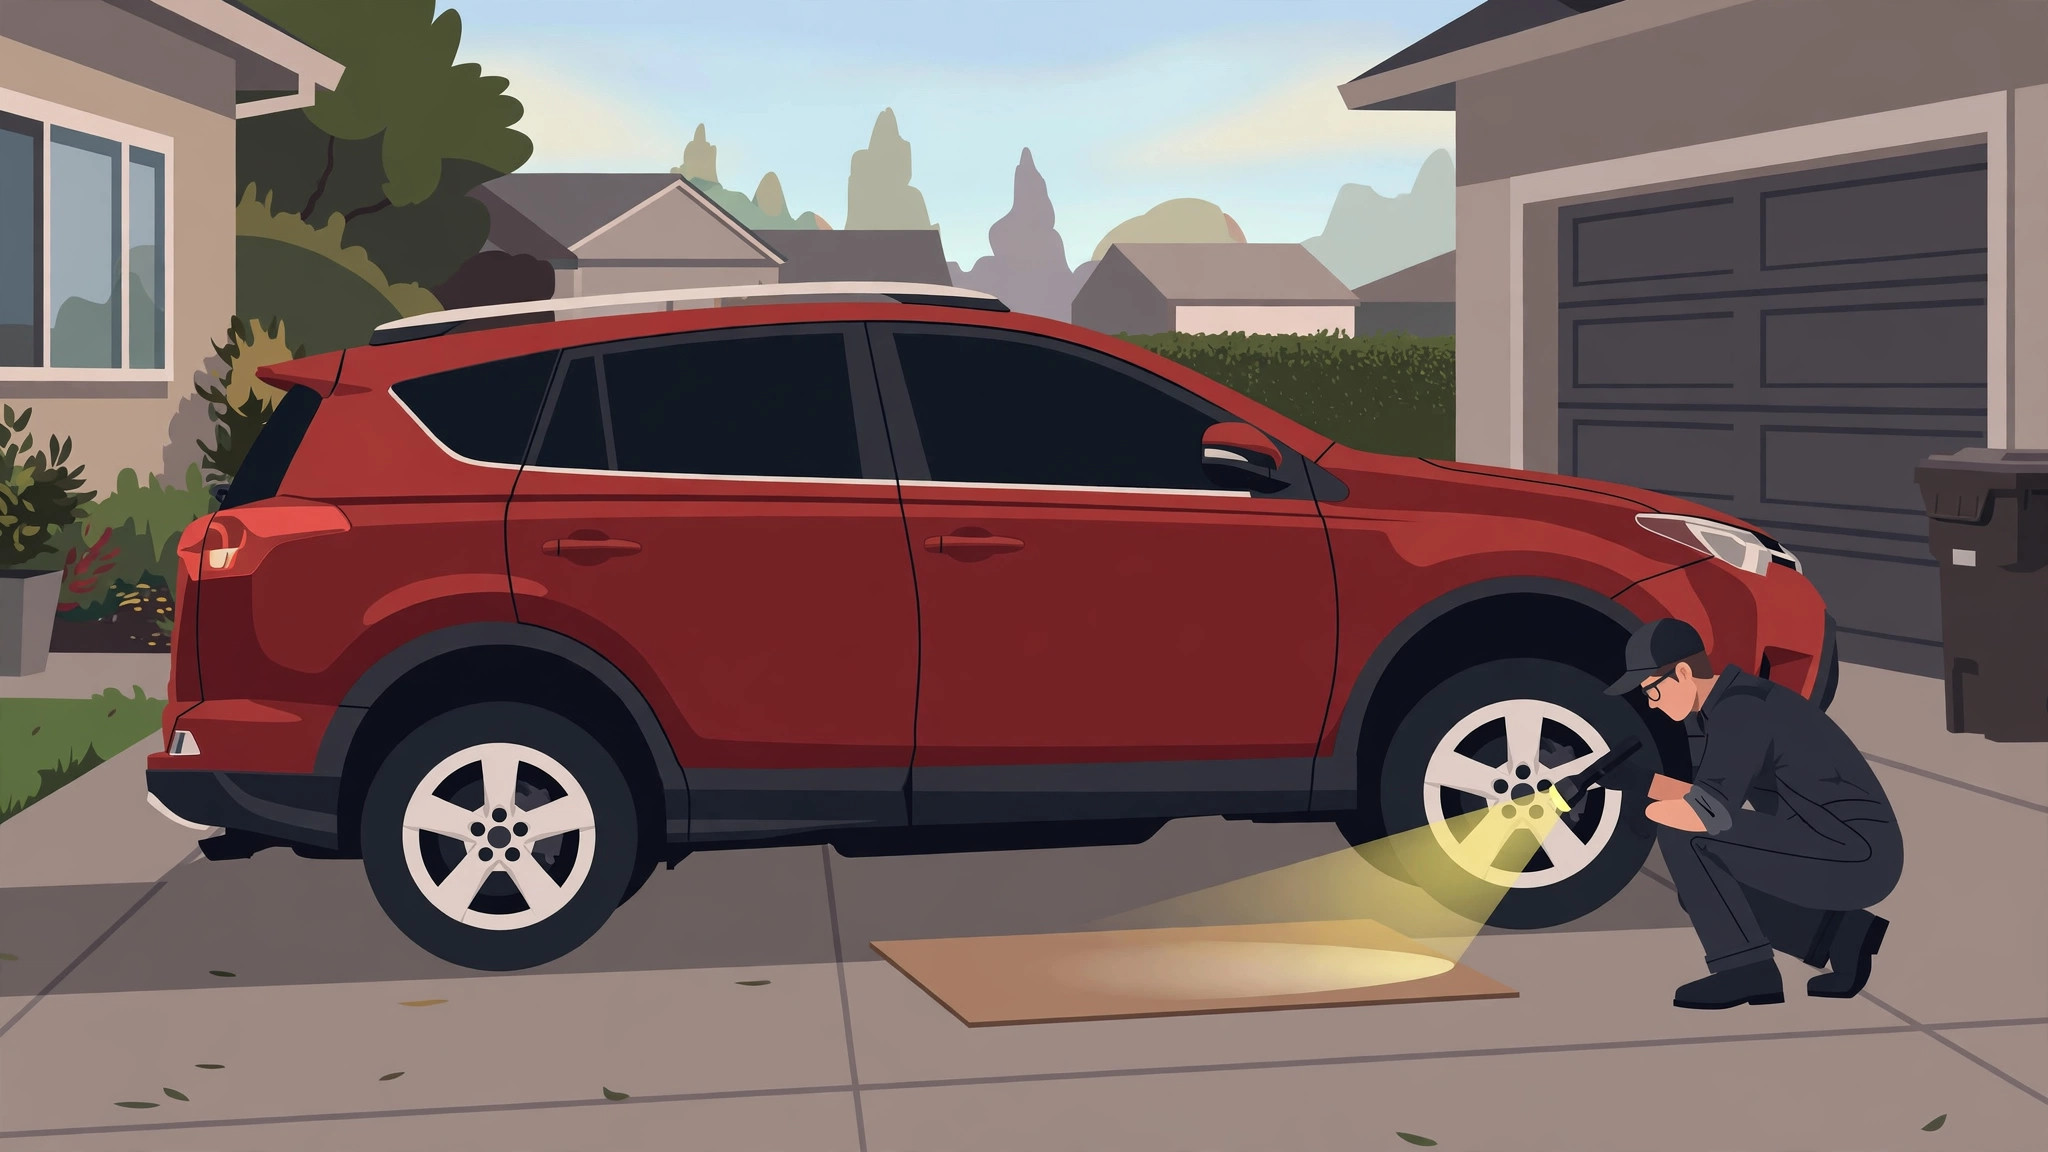
Lower the vehicle and take a 15-minute road test that includes gentle starts, a few firm (not abusive) accelerations, steady highway-speed cruising, and several stops. You are feeling for what the transmission does with fresh fluid: shifts should be timely and uneventful, engagement into Drive and Reverse prompt, with no flare (revving between gears) or shudder. Back home, let it idle a minute, check the dipstick once more at temperature, and slide a clean piece of cardboard under the pan for an hour — a dry card and a dry drain plug confirm the new gasket is sealing. Record the date, mileage, and amount changed in your maintenance notes; "about three and a half quarts, October" is a record your future self (or the next owner) will be grateful for.
Optional but smart: the second cycle, and when to drop the pan instead
Because one drain-and-fill replaces roughly 40 percent of the fluid, many owners repeat the same procedure after a week or two of normal driving — the second cycle lifts the fresh-fluid share to roughly two-thirds, gently, with no machine and no pressure. If your drained fluid was very dark, if the RAV4 has no service history, or if the magnets' story matters to you, consider making the second service a pan drop instead: drain as above, unbolt the pan (18 bolts), clean it, wipe the three magnets and read what they collected (a fine grey fuzz is normal wear; chunks and flakes are not), and replace the oil strainer — the mesh "filter" inside — which is held by 3 bolts torqued to 11 N·m (8 ft·lbf), with a fresh pan gasket and pan bolts torqued evenly to 7.6 N·m (67 in·lbf). The full reasoning is in drain-and-fill vs flush vs pan drop and fluid, filter & parts.
Disposal
Pour the cooled used fluid into your sealable jug (the empty ATF bottles work well), label it as used transmission fluid, and take it to an automotive recycling depot or a parts store that accepts used oil — most take ATF on the same program. Keep it separate from coolant and solvents, and never pour it on the ground, into a storm drain, or into household garbage.
✓ Do
- Use Toyota Genuine ATF WS — and only ATF WS.
- Measure exactly what drains out; refill the same amount.
- Fit a new drain-plug gasket and torque the plug to 47 N·m (35 ft·lbf).
- Support the vehicle on jack stands, on level ground.
- Check the level hot (70–80 °C fluid), engine idling, in the HOT range.
- Take used fluid to a recycling depot.
✗ Don't
- Don't substitute universal or multi-vehicle fluid for ATF WS.
- Don't work under a vehicle held up by a jack alone.
- Don't check the level cold and "top it up" — that's an overfill.
- Don't overfill; small additions, re-checked, beat a big guess.
- Don't reuse the old drain-plug gasket.
- Don't pour used ATF down a drain or onto the ground.
The full reasoning behind every item in that box is in the dedicated do's and don'ts guide.