 RAV4 Transmission Fluid Guide
Transmission cooler lines and leaks on the 2012 RAV4: what to inspect
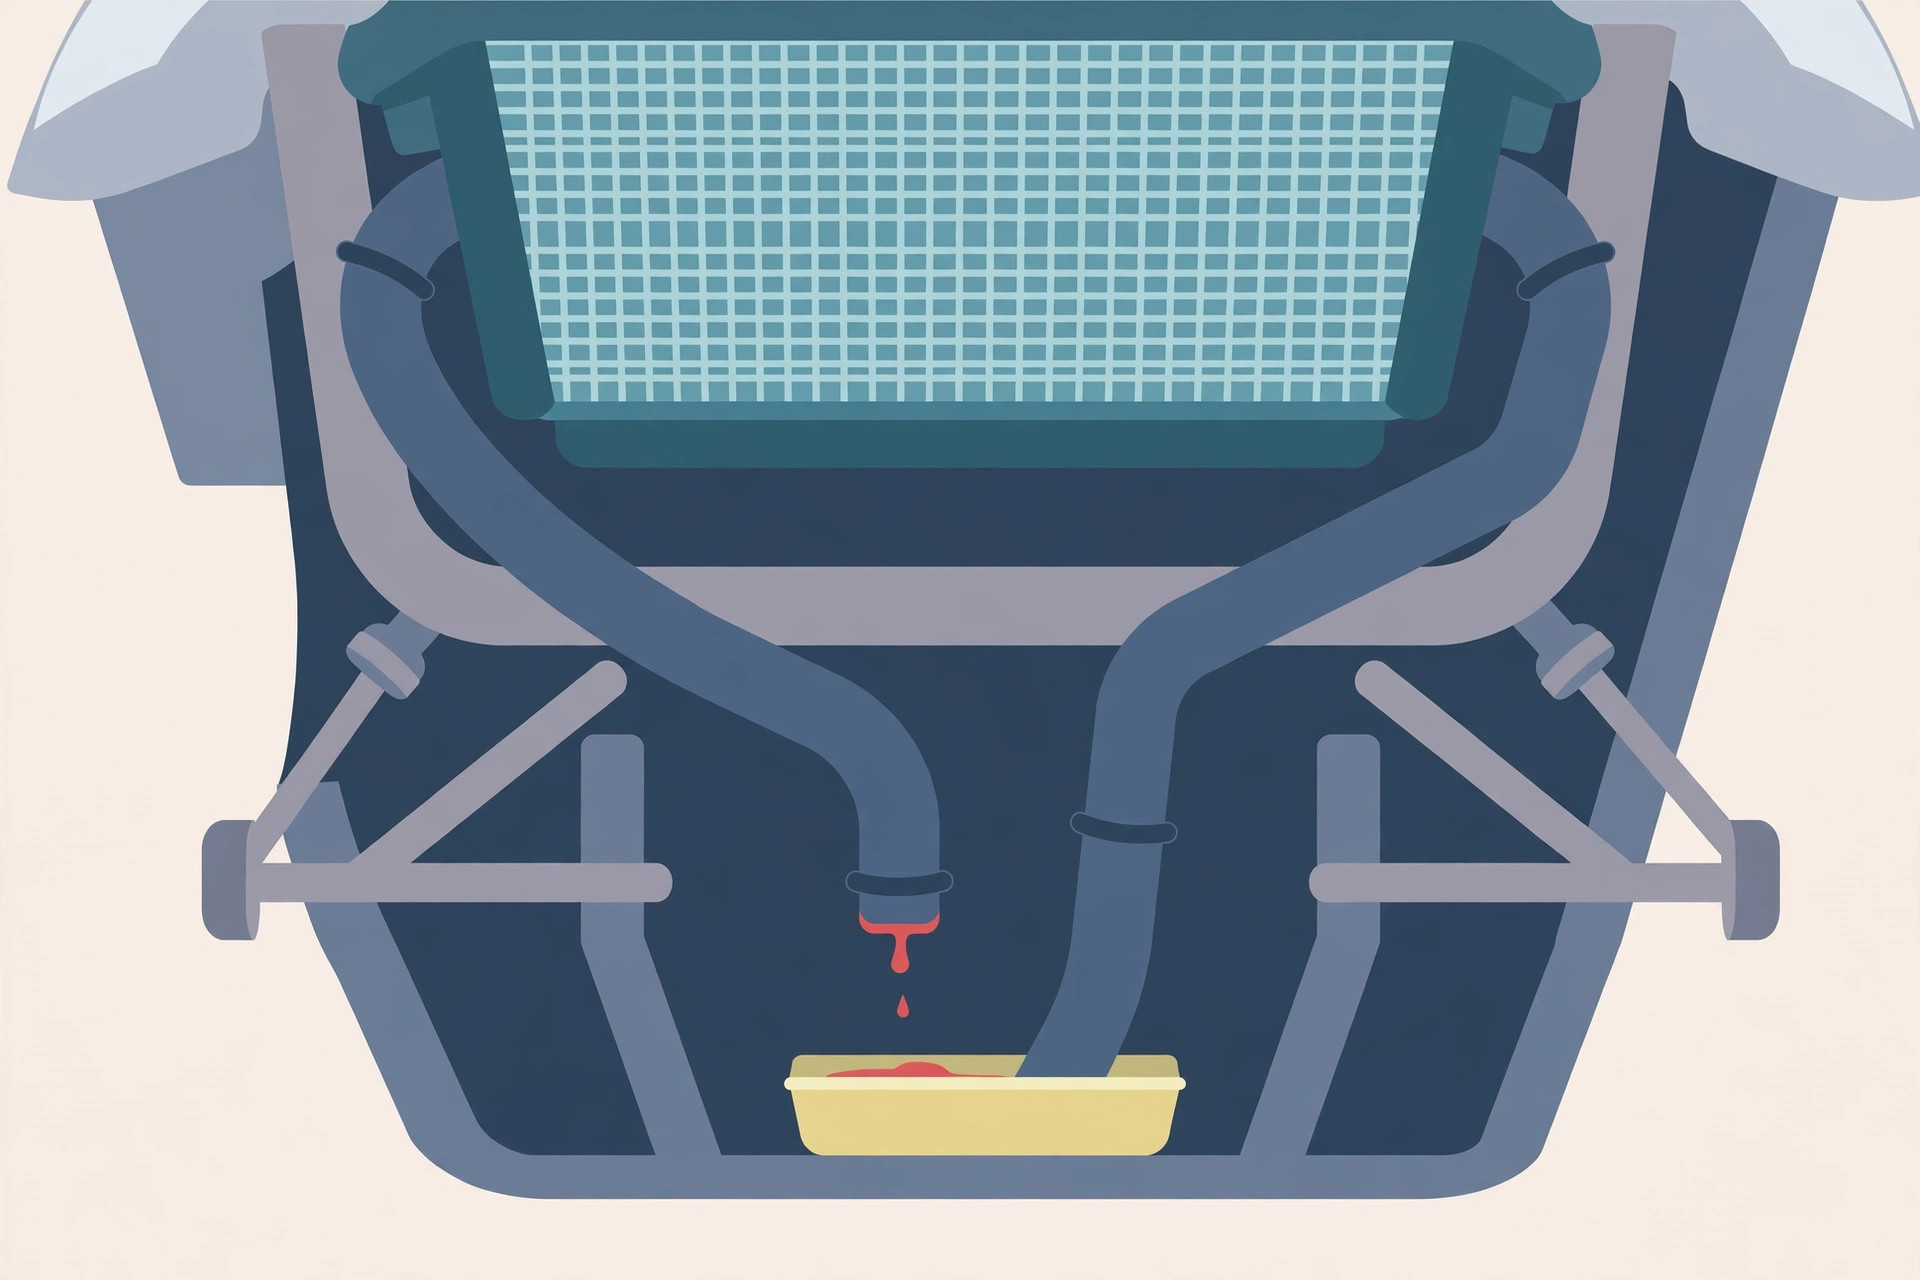
The puddle is small, pinkish red, and roughly under the radiator, which is exactly the problem. On this vehicle, both engine coolant and transmission fluid are red to pink, so the colour of a leak near the front of a 2012 RAV4 identifies almost nothing. Owners buy cooler lines for a coolant leak, and top up coolant while a cooler line seeps the transmission toward a low level. The inspection below starts with identifying the fluid by tracing it to its source, then walks the cooler circuit in the order a leak is most usefully found.
⚠ Safety, read before you start. Inspect a cool engine where you can; hot coolant and hot ATF both burn. If the vehicle goes up, it belongs on jack stands on level ground, never on a jack alone. A transmission that has lost enough fluid to change how it shifts should not be driven to the parts store; the inspection happens where the vehicle sits.
Red fluid under the front: coolant or ATF?
A technician answering exactly this question on a RAV4 routes the job the same way: remove the under-engine cover, which exposes the lower radiator, the hoses, and the transmission cooler lines, and inspect from there. Colour alone cannot separate the two fluids, because both are red or pink on this vehicle. Location and tracing decide the diagnosis.
The working rule from cooler line diagnosis generally: do not identify a leak by colour alone. Clean the area, then follow the wet trail to its highest point. Fluid runs downhill and blows backward; the wettest low point is where the puddle forms, not where the leak lives. The highest, freshest wet point on a fitting, crimp, or hose is the source worth repairing.
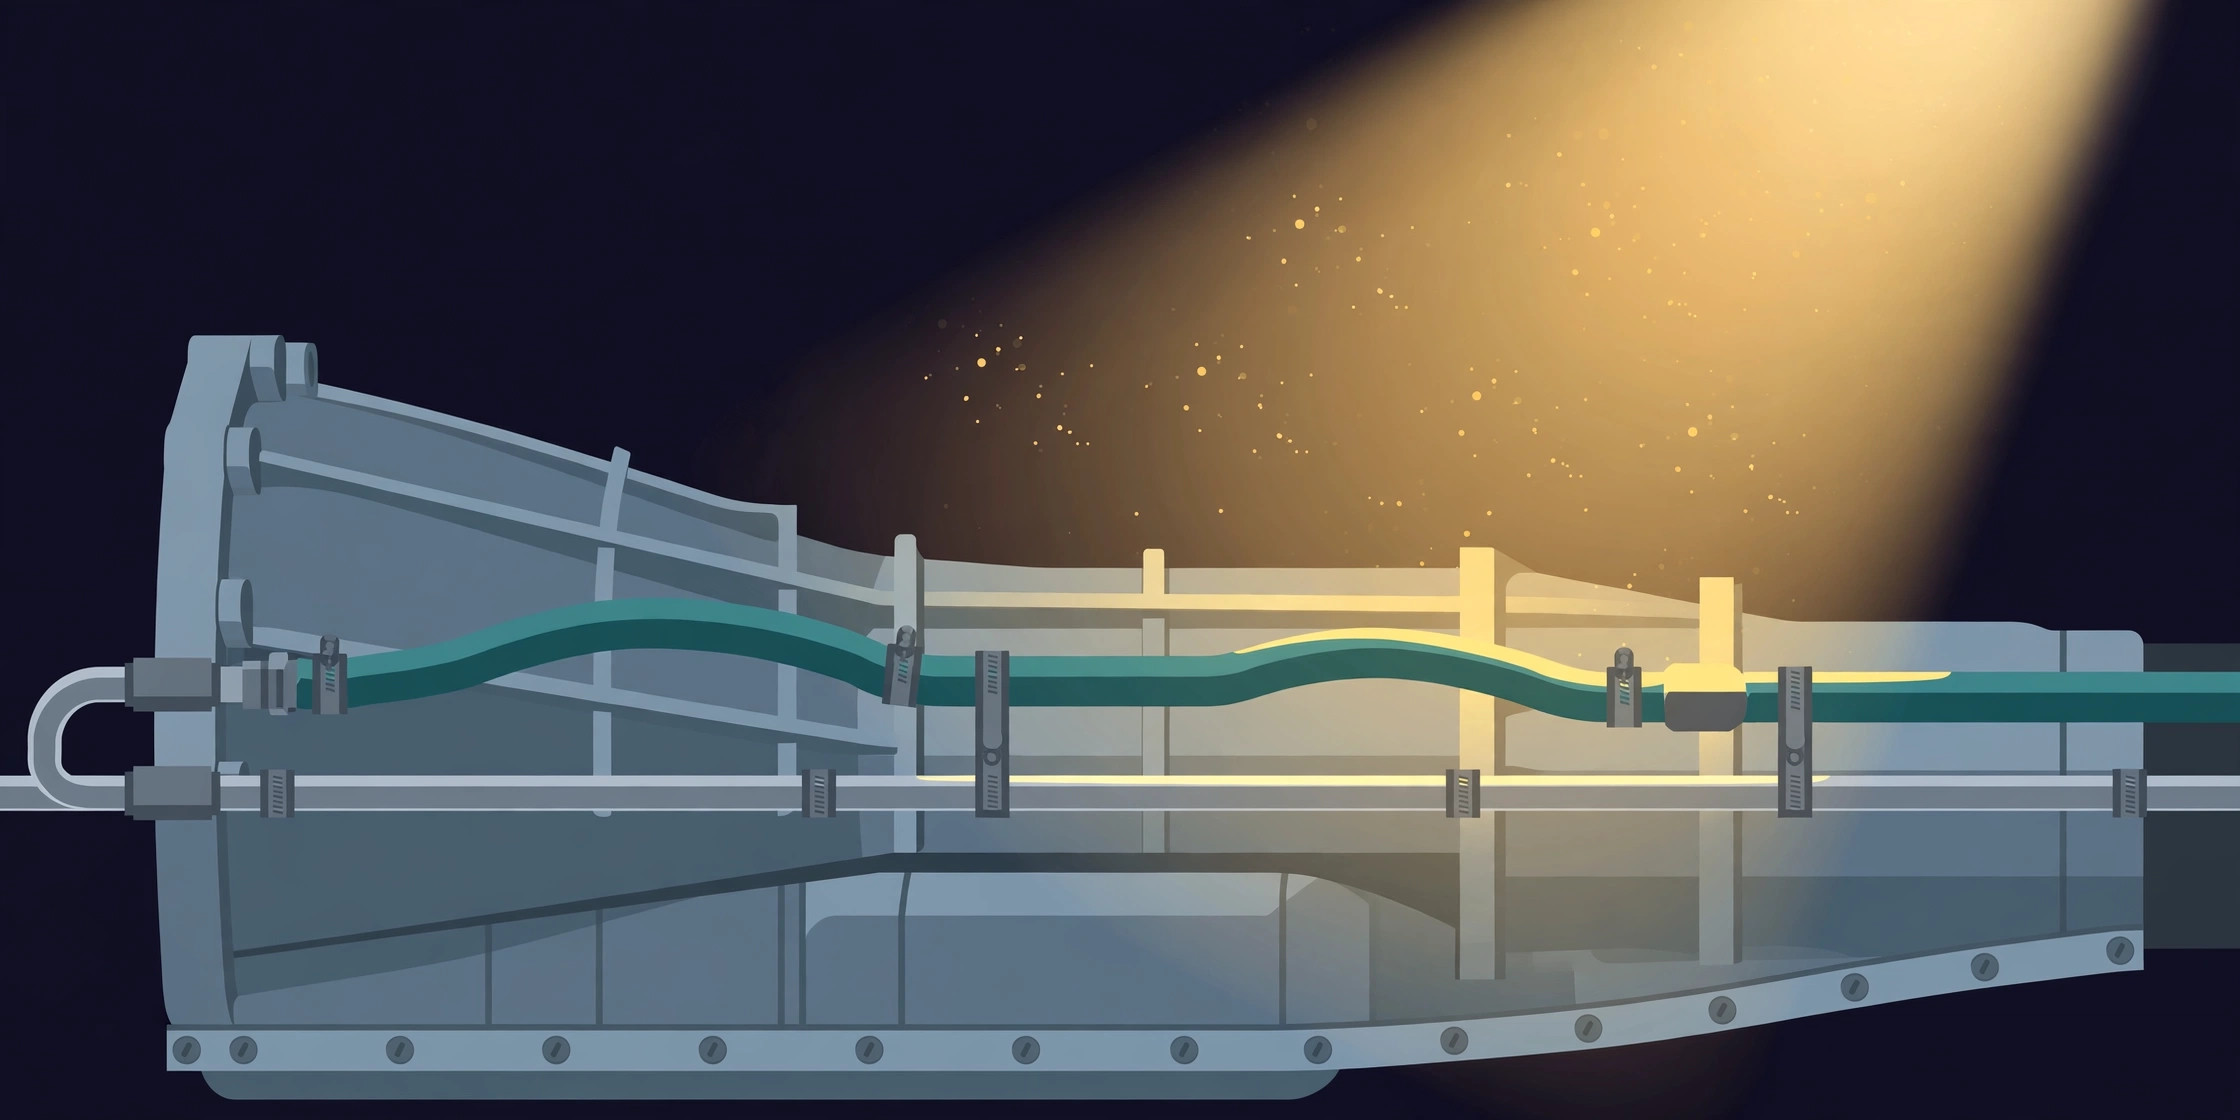
Tracing the cooler circuit in order
The cooler lines are metal tubes with rubber hose sections, running between the transmission and the cooler in the radiator. Inspect them as a circuit, in this order:
- Start at the radiator connections. With the under-engine cover off, look at the lower radiator and the points where the cooler lines meet it. Fresh wetness at a connection, rather than a general film, is the first finding to note.
- Follow each line toward the transmission, fitting by fitting. Check every quick-connect, clip, and joint for wetness, a loose retaining clip, or a kinked hose section.
- Inspect the crimps where metal meets rubber. A failed crimp is a classic slow leak: the hose looks intact, the metal collar weeps. Run a clean fingertip or a dry paper towel around each crimp and check for fresh fluid.
- Check the hard lines for rust and damage. A rusted hard line, crushed tubing, or chafing where a line passes a bracket can weep along the metal itself, not just at the ends.
- Check the rubber sections for age and heat damage. Rubber sections degrade with age and heat exposure, which is why they are the circuit's wear item even when the metal is sound.
- Check inside the radiator circuit, not just outside it. Look in the coolant reservoir: an internal leak in the radiator's transmission cooler lets the two fluids mix, and the reservoir can show light pink, creamy, or milky sludge. Fluid on the transmission dipstick that has turned foamy and pinkish brown instead of its usual red points the same way. Either finding moves this from a line job to a cooler and radiator job, urgently, because coolant inside the transmission compromises the fluid's lubricating and hydraulic function and can bring delayed or erratic, harsh shifting.
- Confirm the level before you conclude anything. Finish with the hot dipstick check in the fluid level and condition guide. A circuit can seep for a long time before the level drops, and a low reading tells you the seep has stopped being cosmetic.
What success looks like: one identified source, named by part and position, fitting, crimp, hose section, hard line, or the cooler inside the radiator, with clean, dry components everywhere else. "Something at the front leaks" is not a diagnosis. "The return line crimp at the radiator weeps" is.
Local repair or line replacement: the decision
Not every finding means a new line, and the distinction is mechanical, not hopeful:
- Repair locally when the failure is a single failed O-ring or clip at an otherwise sound connection. The line itself is healthy; the seal or its retention is not.
- Replace the line when you find widespread rust, a leaking crimp, crushed tubing, or several weak points along the same run. A crimp is a factory-formed joint; it is not reclamped back to health, and a line with failures at both ends is telling you about its whole length.
- Replace the radiator when the leak is internal, with mixed fluids as the evidence. No line repair addresses a cooler that is leaking through its own wall.
On materials, the rule is absolute: only hose rated for transmission fluid may be used on this circuit. Other hose swells and fails in ATF. Replacement tubing should be OEM-formed or rated for transmission oil cooler service, routed as the original was routed, clear of the chafe and heat points that damaged the old one.
Why a small seep is not a small problem
The cooler circuit is a closed loop with no reserve. A wet quick-connect, failed crimp, rusted hard line, kinked hose, or loose clip can lower the ATF level enough to cause overheating, delayed engagement, and clutch slip. The leak rate that looks trivial on the driveway is the same rate the transmission experiences on the highway, and it does not pause between your inspections. That is also why the factory schedule treats this circuit as an inspection item: Toyota recommends having the transmission fluid cooler hoses and connections inspected every 30,000 miles, the system checked for signs of leakage, and any faults repaired immediately to prevent transmission damage.
What the inspection costs, and the ownership math
If you would rather pay for the diagnosis than spend the time under the cover, RepairPal's estimate for a transmission fluid leak inspection on a 2012 Toyota RAV4 is US$61 to $90 (price checked 2026-10-25). Set that against the inspection rhythm above and the arithmetic is plain: at one paid inspection every 30,000 miles, four inspections across 120,000 miles of driving come to US$244 to $360 in total. That is the whole cost of never guessing which red fluid is on your driveway for the life of the vehicle, and it is priced against a failure mode, a transmission run low and hot, that no owner would describe as the cheaper option. The DIY version of the same inspection costs a cover removal, a flashlight, and a paper towel.
After the repair: refill, level check, and the re-test
- Refill what was lost with the correct fluid for this transmission, in small amounts. The fluid and parts guide, ATF WS, capacities, gaskets and the strainer, has the specification and capacities.
- Run the hot level check and bring the level into the HOT range before any road use.
- Clean the repaired area completely, so the surface starts dry and any new wetness is unambiguous.
- Drive a normal trip, then re-inspect the same points in the same order. Dry fittings, dry crimps, and a level that has not moved are the pass.
- Check the dipstick again after a few days of use. A repair that holds at rest and seeps under sustained pressure shows up here, while the fix is still small.
A cooler line leak is one of the few transmission faults an owner can find early, name precisely, and fix at the cheap end of its life. The whole skill is refusing to diagnose by colour, and tracing the wet trail to its highest point instead.
— Owen Park, Automotive Writer